21 Pillar Design Interior Tips From Top Interior Designers
- Wrap It in Shiplap
- Add a Full Stone Veneer
- Frame It With Wood Molding
- Turn It Into a Bookshelf Nook
- Use Board and Batten
- Wrap It in Wallpaper
- Add a Mirror Panel
- Paint It a Contrasting Color
- Add Column Capitals and Bases
- Build In LED Lighting
- Cover It With Shiplap and a Shelf Cap
- Use Textured Plaster
- Add a Faux Fireplace Surround
- Wrap It in Ceramic or Porcelain Tile
- Create a Gallery Wall Wrap
- Use Reclaimed Wood Cladding
- Add Greenery Around the Base
- Use a Two-Tone Paint Treatment
- Build in Hidden Storage
- Add a Decorative Wood Beam Connection
- Keep It Minimal With Matte Black Paint
21 Pillar Design Interior Tips From Top Interior Designers
Pillars aren’t just structural necessities anymore — they’ve become one of the most fun architectural features to design around. Whether you’re stuck with a load-bearing column smack in the middle of your living room or you’re adding decorative pillars on purpose, there’s a lot you can do to make them feel intentional instead of awkward.
I’ve pulled together ideas straight from designers who actually know how to turn a “problem” pillar into a focal point. Here are 21 pillar design interior tips worth stealing for your own space.
Wrap It in Shiplap
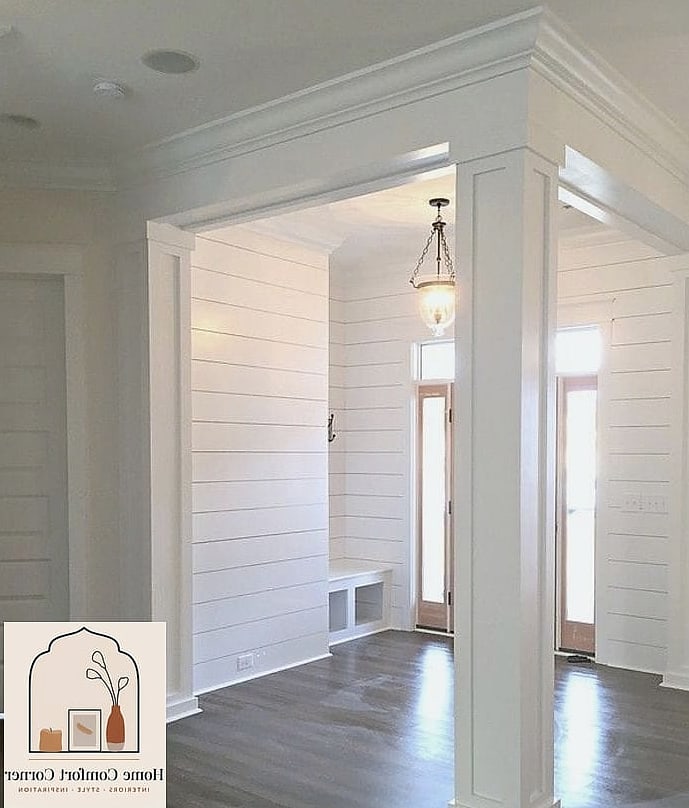
Shiplap isn’t just for accent walls. Wrapping a pillar in horizontal shiplap boards gives it a cottage or farmhouse feel instantly.
This works especially well in living rooms and entryways where you want warmth without adding bulk. Paint it a soft white or greige to keep things light, or go bold with navy or forest green if the room can handle the contrast.
It’s a weekend-friendly DIY project, and the material is inexpensive compared to stone or tile. Just make sure you seal the edges so dust doesn’t collect in the grooves.
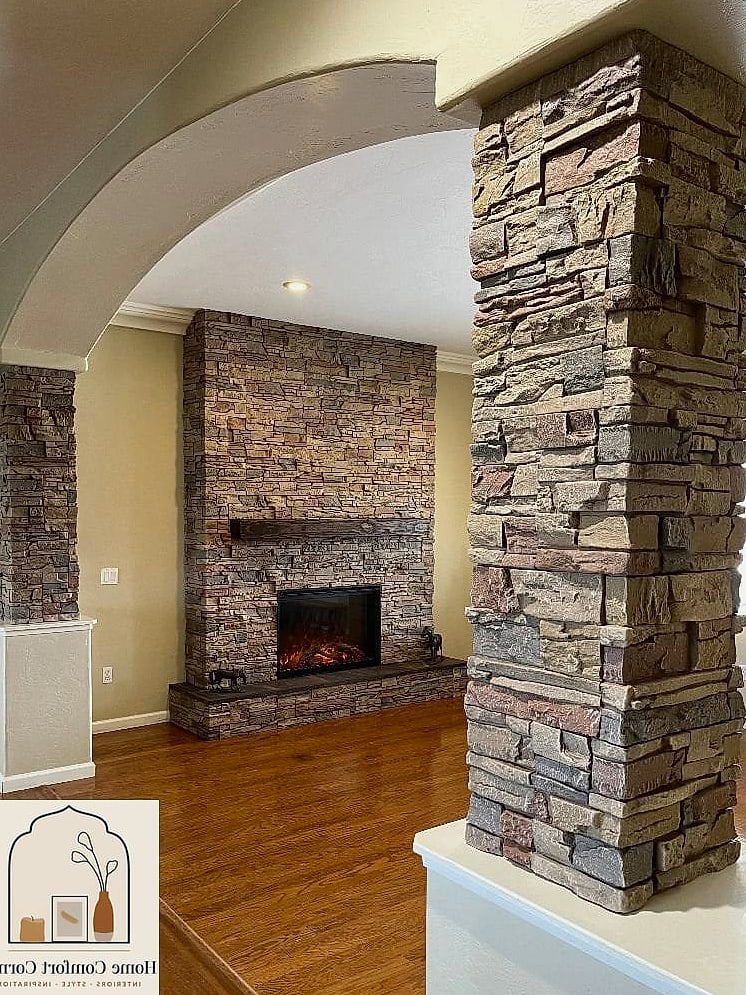
Add a Full Stone Veneer
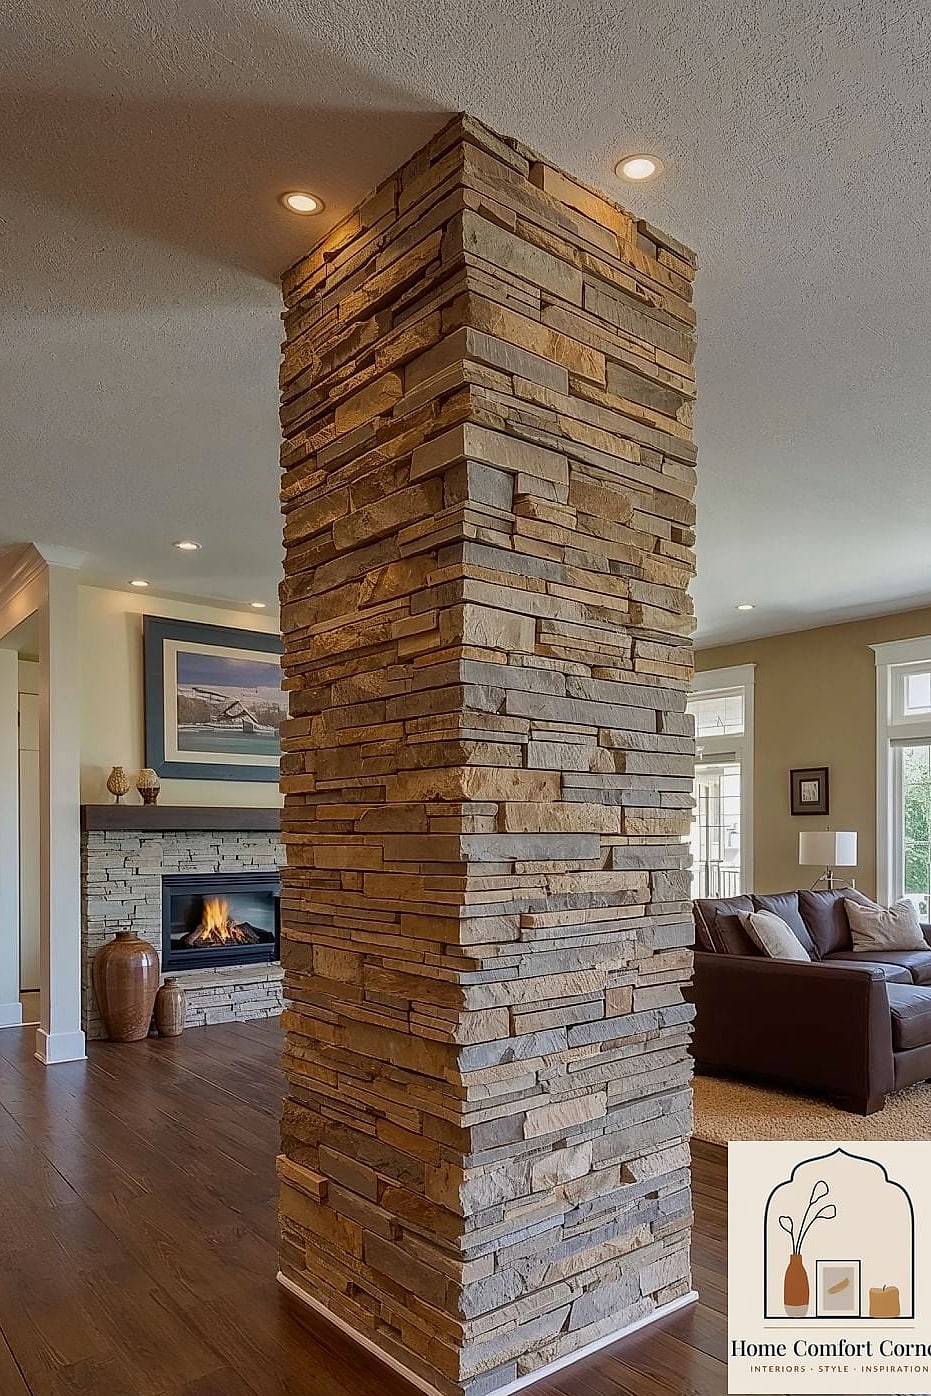
If you want a pillar to feel like it was always meant to be there, stone veneer is the move. It reads as substantial and architectural, almost like the column is holding up a mountain lodge.
This look shines in open-concept homes with vaulted ceilings, especially near fireplaces where the stone can visually connect the two elements. Natural stone costs more, but manufactured stone veneer gives a similar texture for a fraction of the price.
Maintenance is minimal — an occasional wipe-down is usually all it needs. Just know that once it’s installed, it’s a commitment, since removal isn’t simple.
Frame It With Wood Molding
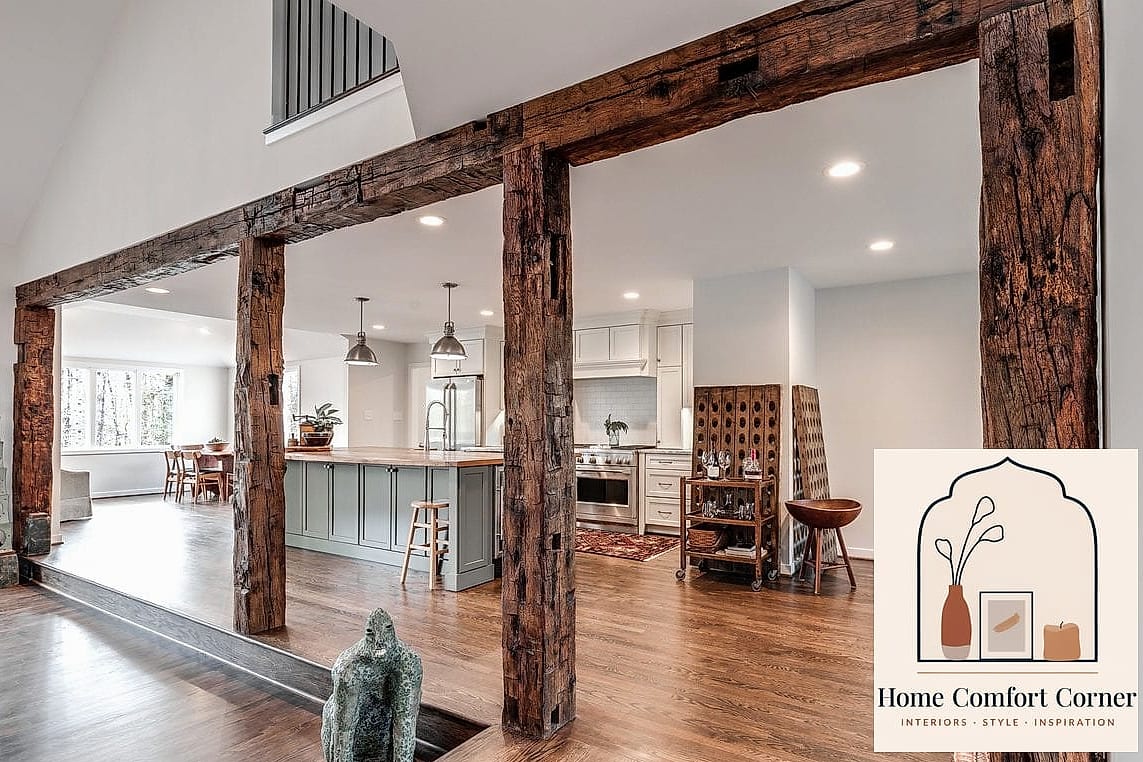
Adding wood trim or molding around a plain pillar instantly makes it look custom-built rather than accidental. Think picture-frame molding or simple square panels running up the sides.
This tip works beautifully in traditional or transitional homes, and it pairs nicely with crown molding elsewhere in the room so everything feels cohesive. Painted white, it disappears into the trim work; stained in a warm wood tone, it becomes a statement.
It’s a fairly approachable DIY if you’re comfortable with a miter saw, and it’s one of those upgrades that instantly makes a room feel more custom without requiring a full renovation.
Turn It Into a Bookshelf Nook
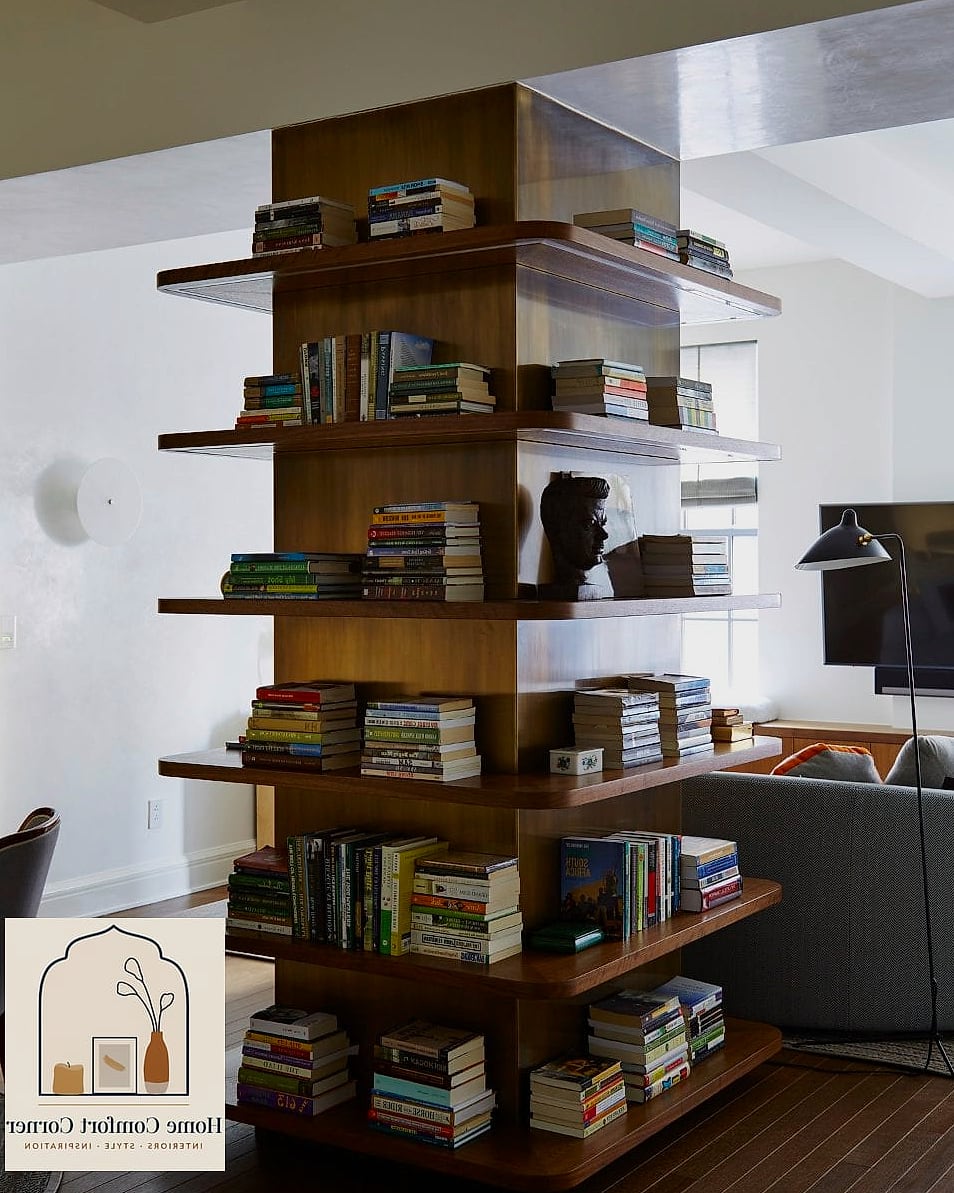
If your pillar has any real width to it, consider building small shelves into or around it. Even a narrow ledge on each side can hold books, plants, or framed photos.
This is a favorite in home libraries and living rooms where floor space is tight but vertical space is open. Floating shelves keep the look clean, while a boxed-in bookshelf gives more storage if you need it.
It’s practical for small homes where every inch counts, and it turns a structural obstacle into something genuinely useful.
Use Board and Batten
Board and batten brings texture and dimension without a ton of cost. Vertical battens spaced evenly up the pillar create a crisp, architectural line that reads as intentional design.
This treatment fits nearly any style, from modern farmhouse to coastal to transitional. White is the classic choice, but a moody charcoal or deep blue can make the pillar pop against lighter walls.
It’s beginner-friendly for DIYers and easy to keep clean since there aren’t deep grooves for dust to hide in.
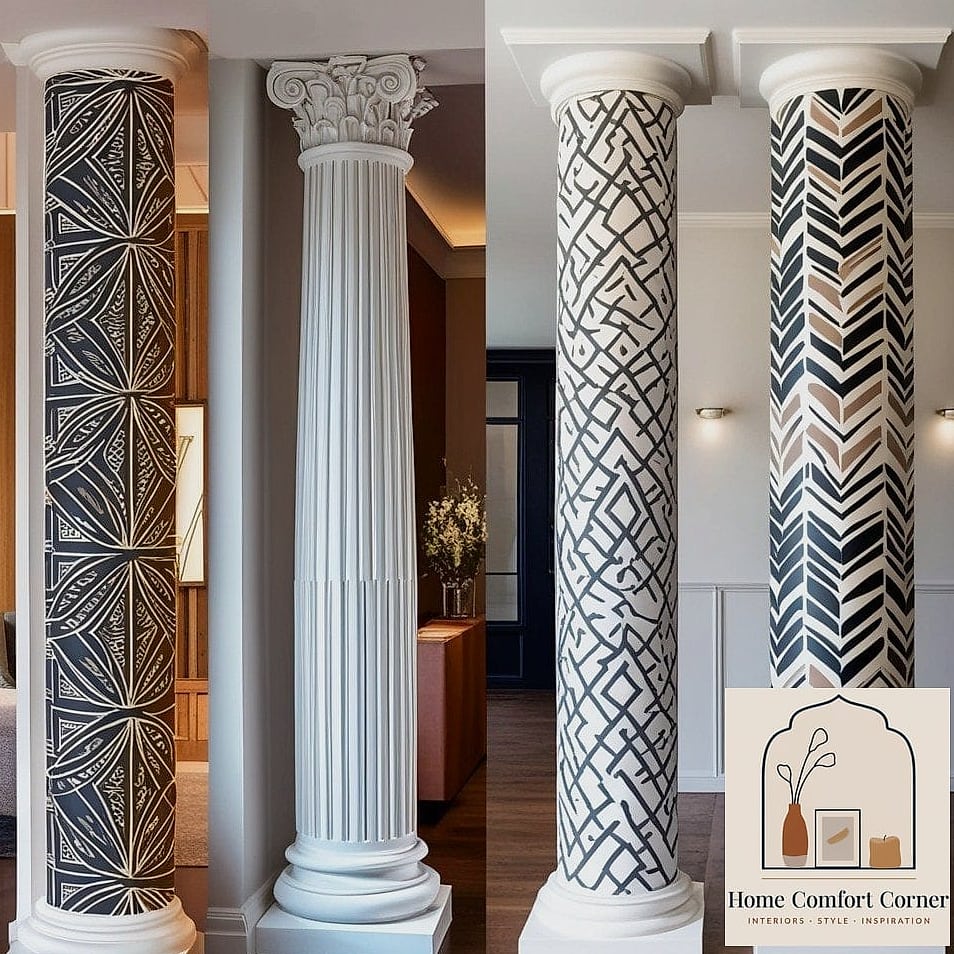
Wrap It in Wallpaper
A pillar is basically a built-in canvas for a bold wallpaper moment. Since it’s a smaller surface than a full wall, you can afford to go with a pattern or color you might otherwise be nervous about.
This works great in powder rooms, hallways, and dining areas where you want a punch of personality without overwhelming the whole room. Grasscloth textures add warmth, while a graphic print adds energy.
Peel-and-stick options make this renter-friendly, and it’s one of the easiest ways to change the whole vibe of a room in an afternoon.
Add a Mirror Panel
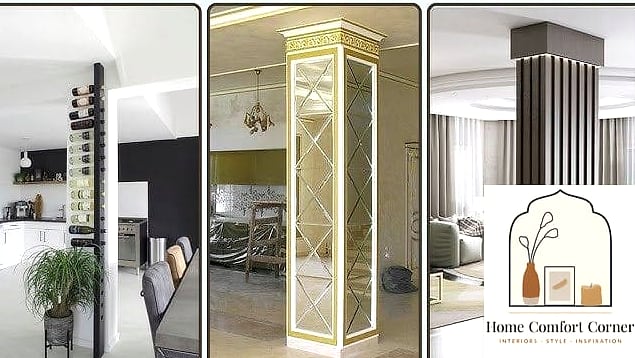
Mirrored panels on a pillar do double duty — they make the column feel less heavy and they bounce light around the room. This is especially handy in darker spaces or homes with fewer windows.
It’s a smart trick for smaller living rooms or hallways where a bulky pillar can make the space feel cramped. Antiqued or smoked mirror adds a little glamour if you want more than a plain reflective surface.
Cleaning is simple with a basic glass cleaner, though you’ll want to dust more often since mirrors show smudges quickly.
Paint It a Contrasting Color
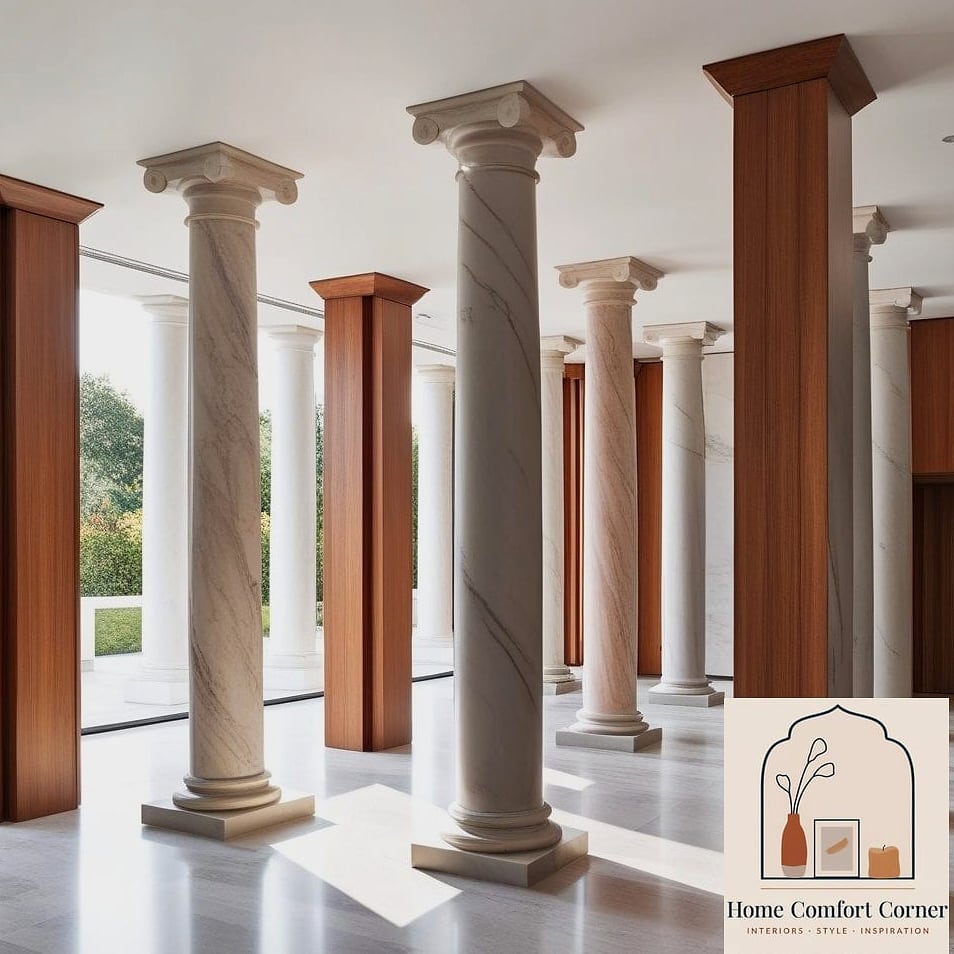
Sometimes the simplest fix is the best one. Painting a pillar a different color than the surrounding walls makes it look like a deliberate design choice rather than something you’re trying to hide.
Black or deep charcoal against white walls is a classic combo that works in modern and transitional spaces alike. If you want something softer, a muted terracotta or sage green can add warmth without feeling too dramatic.
This is about as budget-friendly as it gets, and it’s a great option if you’re not ready to commit to a bigger material change.
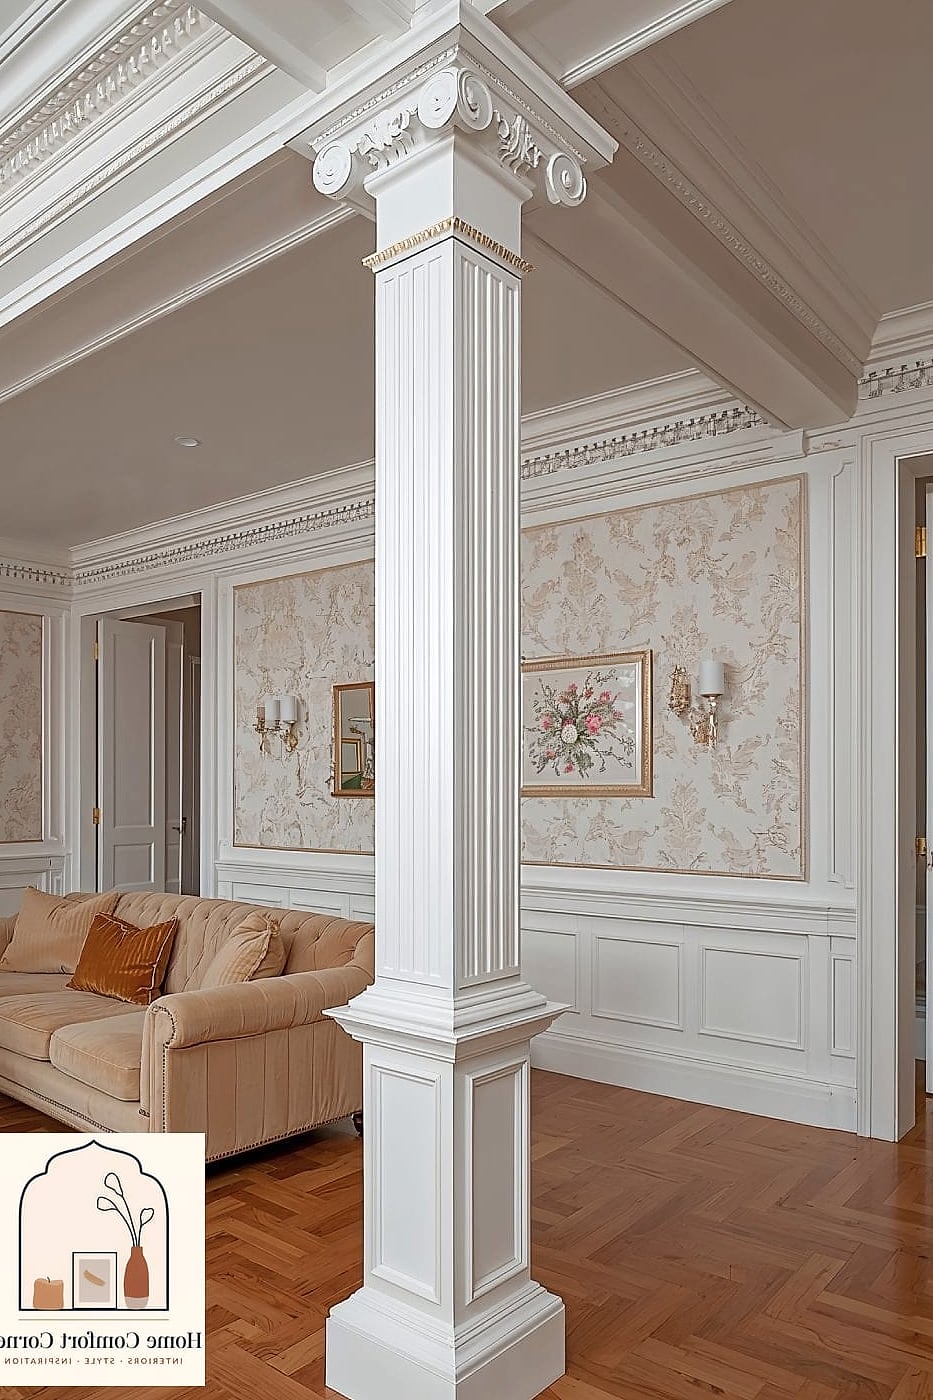
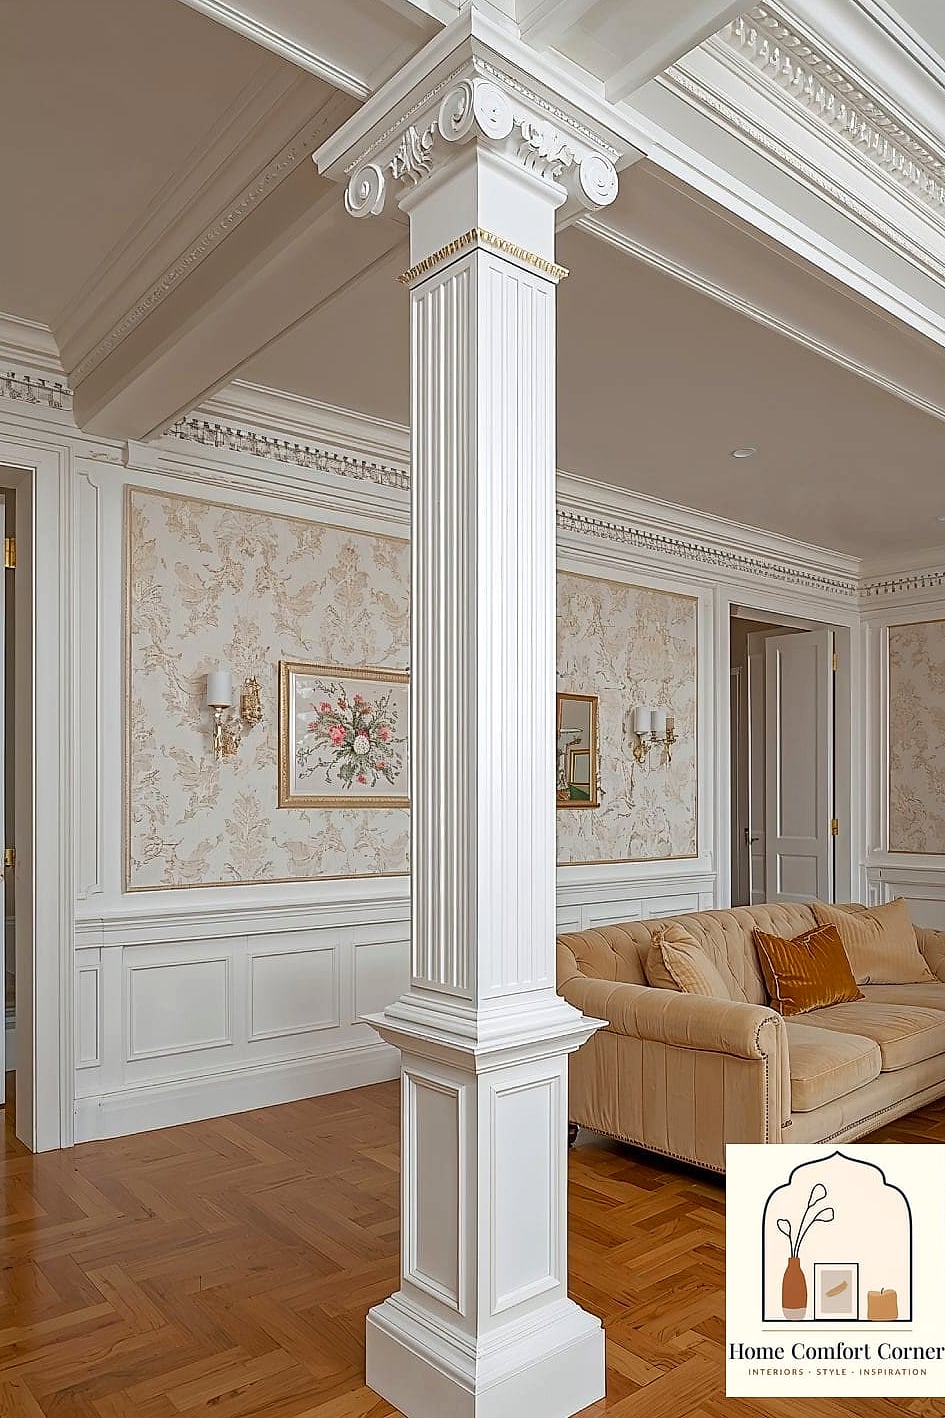
Add Column Capitals and Bases
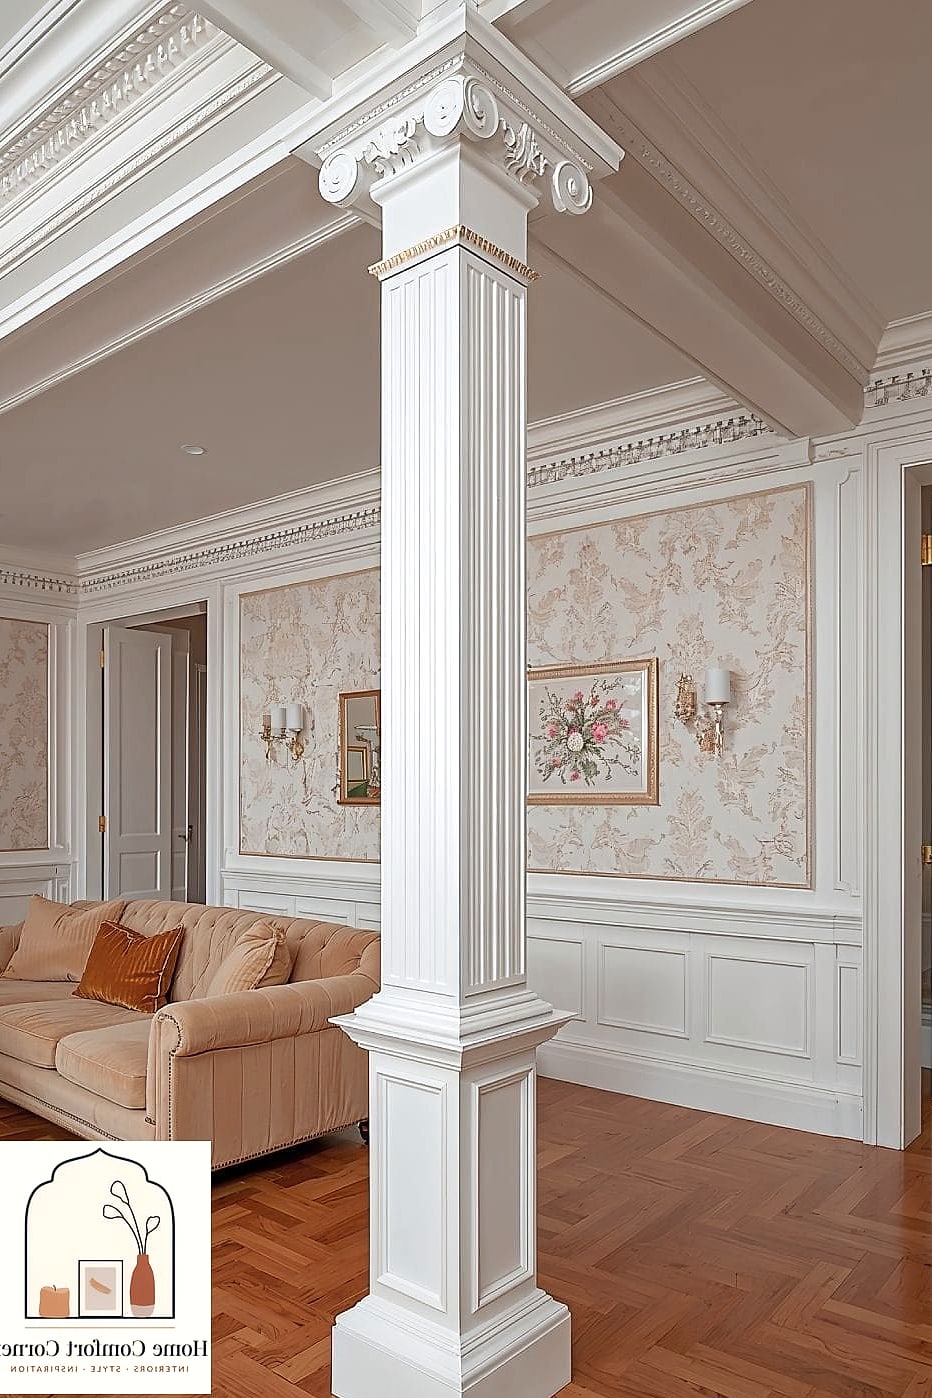
For a more classical or traditional look, adding decorative capitals at the top and bases at the bottom gives a plain pillar real architectural presence. Think Greek Revival or old-world European styling.
This works particularly well in formal living rooms, entryways, or dining rooms with higher ceilings. Paintable polyurethane versions are affordable and lightweight, so you don’t need to source real stone or plaster pieces.
It’s a bit more of a project since you’re adding new elements rather than just covering the surface, but the payoff is a pillar that looks like it belongs in an older, more established home.
Build In LED Lighting
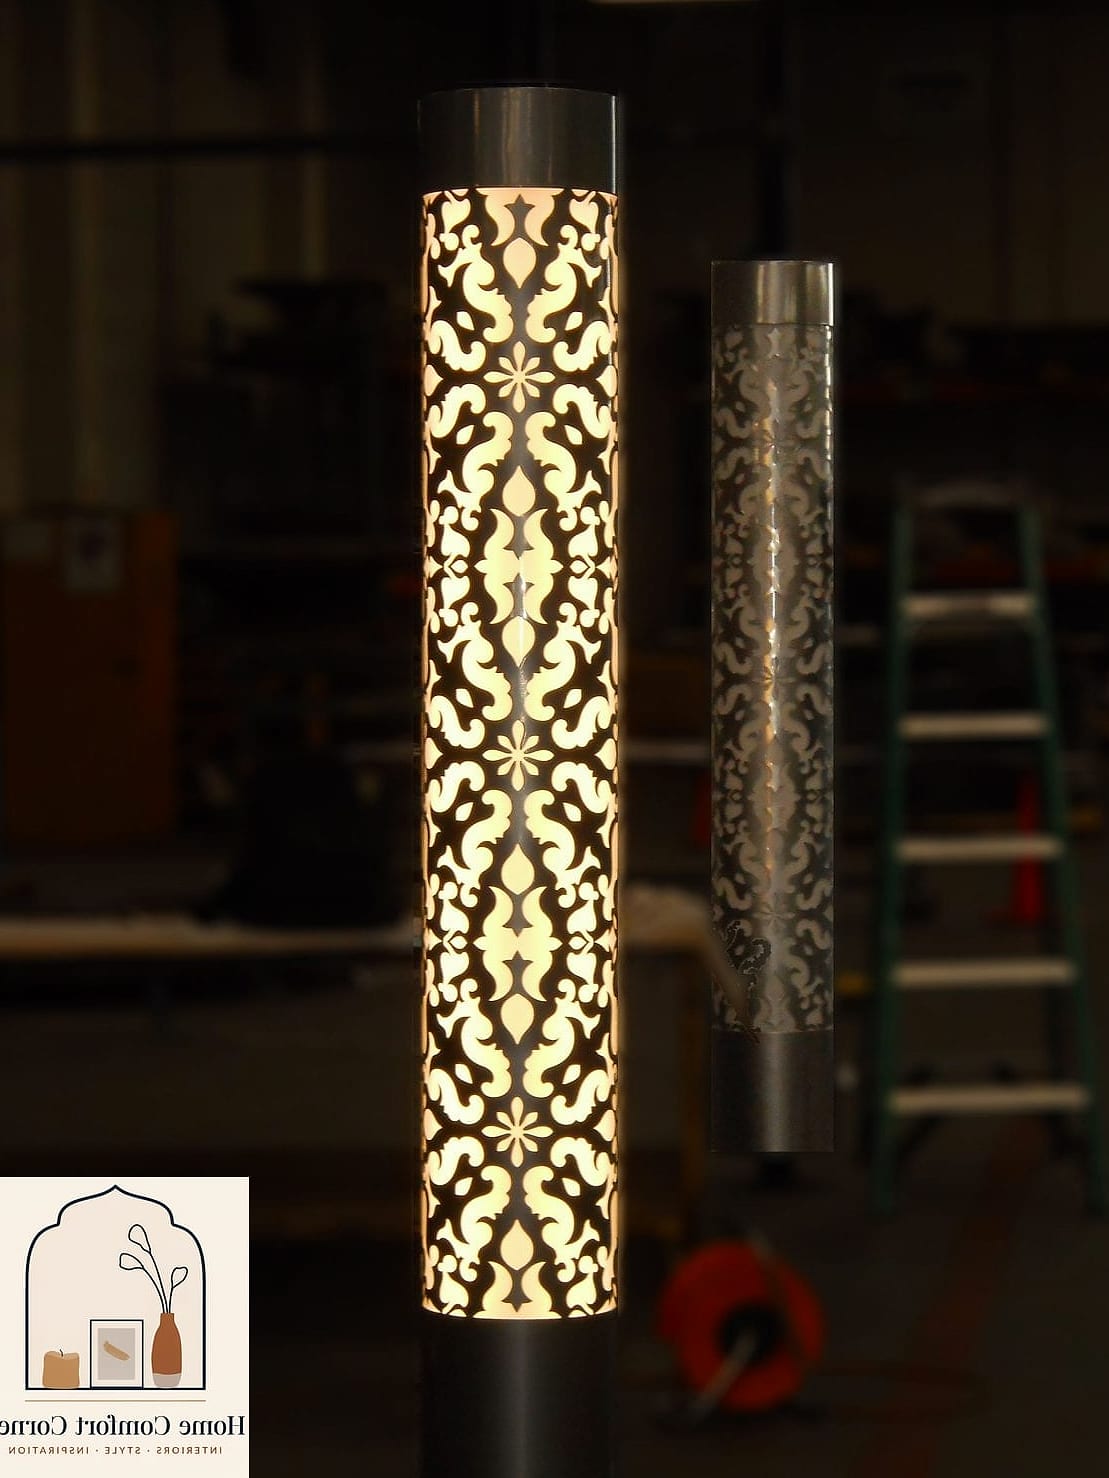
Hidden LED strips at the top or base of a pillar create a soft glow that makes the whole feature feel intentional after dark. It’s a small touch, but it changes the mood of a room significantly.
This tip is popular in modern and contemporary homes, especially open floor plans where ambient lighting layers matter. Warm white bulbs keep things cozy, while cooler tones lean more sleek and modern.
Installation is moderate — you’ll want some basic electrical comfort or a willingness to use plug-in LED strips instead of hardwired ones.
Cover It With Shiplap and a Shelf Cap
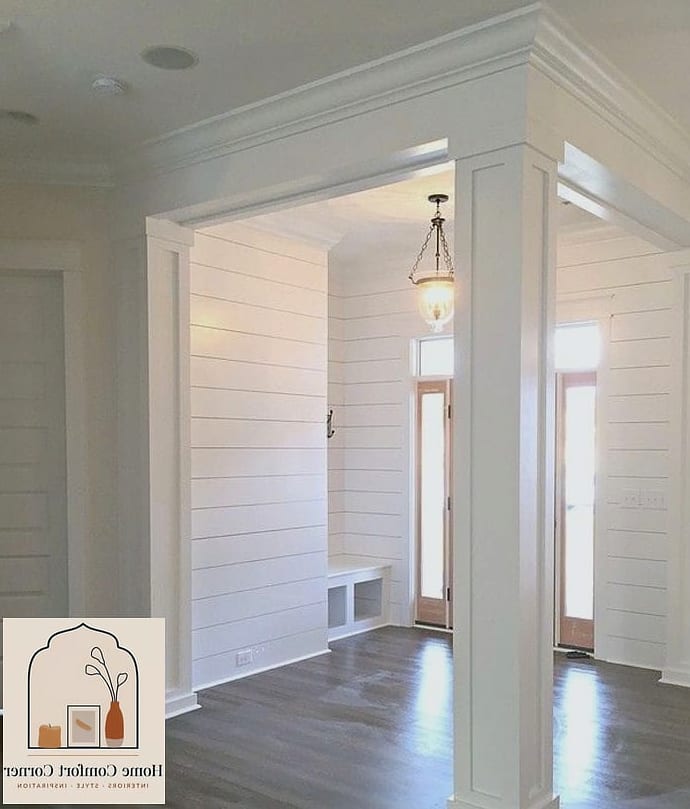
Combining shiplap siding with a flat wood cap on top gives the pillar a finished, furniture-like look. It’s a step up from plain shiplap because the cap adds a tactile detail at eye level.
This is great in kitchens or dining areas where the pillar might otherwise interrupt sightlines. The cap can double as a spot for a small vase or seasonal decor.
It’s still a DIY-friendly project, just with one extra step for cutting and attaching the top piece.
Use Textured Plaster
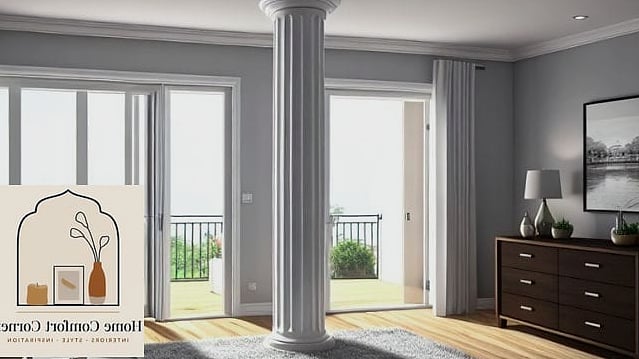
Venetian plaster or a similar textured finish gives a pillar an organic, almost sculptural quality. It’s tactile in a way that flat paint just isn’t.
This look is having a moment in Mediterranean and Japandi-inspired interiors, where natural textures and earthy tones are the whole point. Warm terracottas, sandy neutrals, and soft off-whites all work beautifully here.
Application takes some skill, so this might be one to hire out unless you’ve worked with plaster before. Maintenance-wise, it holds up well and just needs occasional dusting.
Add a Faux Fireplace Surround
If your pillar sits near a wall, some designers extend it into a small faux fireplace surround, even without an actual fireplace insert. It creates a cozy focal point using an element that’s already there.
This works nicely in living rooms where you want fireplace charm without the cost of installing a real one. A mantel shelf on top gives you a spot to style with candles, art, or greenery.
It’s a bigger project than most on this list, but the visual payoff is significant if you’re craving a classic architectural anchor.
Wrap It in Ceramic or Porcelain Tile
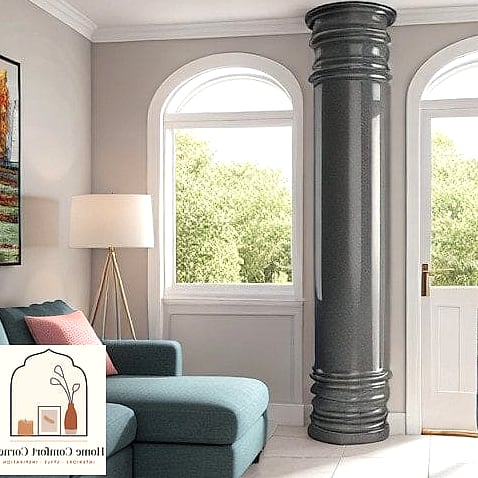
Tile isn’t just for backsplashes and bathroom floors — it works surprisingly well wrapped around a pillar, especially in kitchens or bathrooms where moisture resistance matters. Herringbone or stacked layouts both look great on a vertical surface.
This is a durable, easy-to-clean option for high-traffic areas or homes with kids and pets. Zellige tile adds handmade texture and depth if you want something a little more artisanal than standard subway tile.
Installation takes some patience since you’re working around a rounded or squared vertical surface, so this might be worth hiring a tile pro for.
Create a Gallery Wall Wrap
Instead of treating the pillar as one flat surface, wrap a small gallery wall around it using varied frame sizes. It turns the column into a mini art installation you can update anytime.
This works well in hallways, staircases, and living rooms where you already have a collection of art or photos you love. Mixing frame finishes — black, brass, natural wood — keeps it from feeling too matchy.
It’s completely renter-friendly if you use removable hanging strips, and it’s an easy way to inject personality into an otherwise boring structural element.
Use Reclaimed Wood Cladding

Reclaimed wood cladding gives a pillar serious character, with knots, grain variation, and a weathered look you can’t fake with new lumber. It’s a favorite for rustic, industrial, and modern farmhouse interiors.
This treatment feels right at home in open-concept living areas or lofts with exposed beams. Because reclaimed wood varies piece to piece, no two pillars end up looking exactly alike, which a lot of homeowners love.
It’s slightly higher maintenance than painted surfaces since wood can shift with humidity, but a light coat of sealant helps it hold up over time.
Add Greenery Around the Base
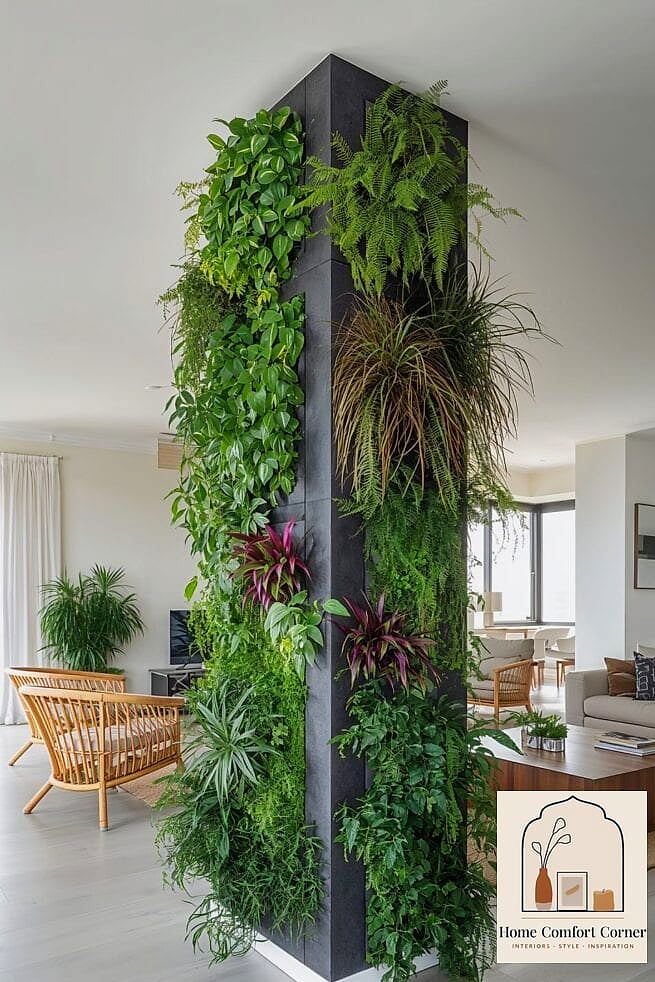
Sometimes the easiest fix isn’t a material change at all — it’s styling. Placing a tall plant or a few layered planters around the base of a pillar softens its hard edges and makes it feel more integrated into the room.
This works in nearly any room, but it’s especially nice in sunrooms, entryways, and living rooms with natural light. Fiddle leaf figs, snake plants, or a cluster of smaller pots all work depending on the light available.
It’s about as low-commitment as design gets, and it’s easy to switch up seasonally without any real cost.
Use a Two-Tone Paint Treatment
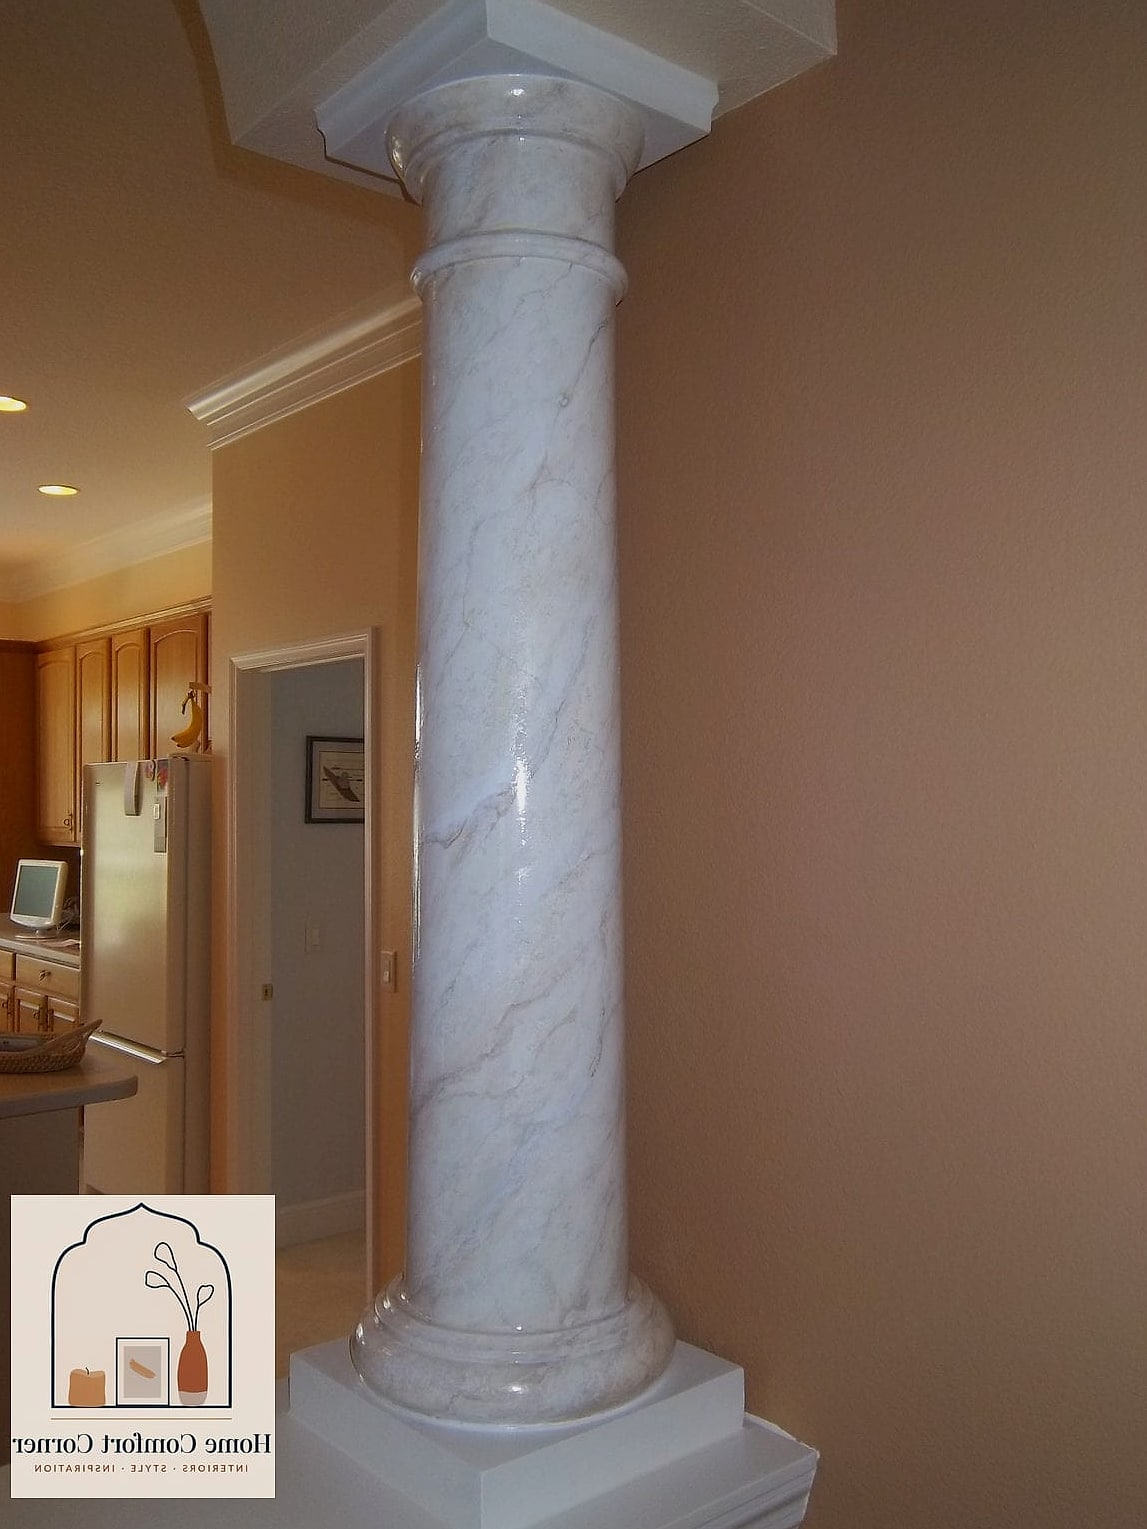
Painting the bottom third of a pillar one color and the top two-thirds another creates a wainscoting-like effect without adding any actual millwork. It’s a clever way to add visual interest using paint alone.
This tip works well in dining rooms and living rooms with traditional or transitional styling. A classic combo is a deeper color on the bottom with white or cream above, mimicking the look of a chair rail.
It’s inexpensive, quick to execute, and easy to repaint if you change your mind down the road.
Build in Hidden Storage
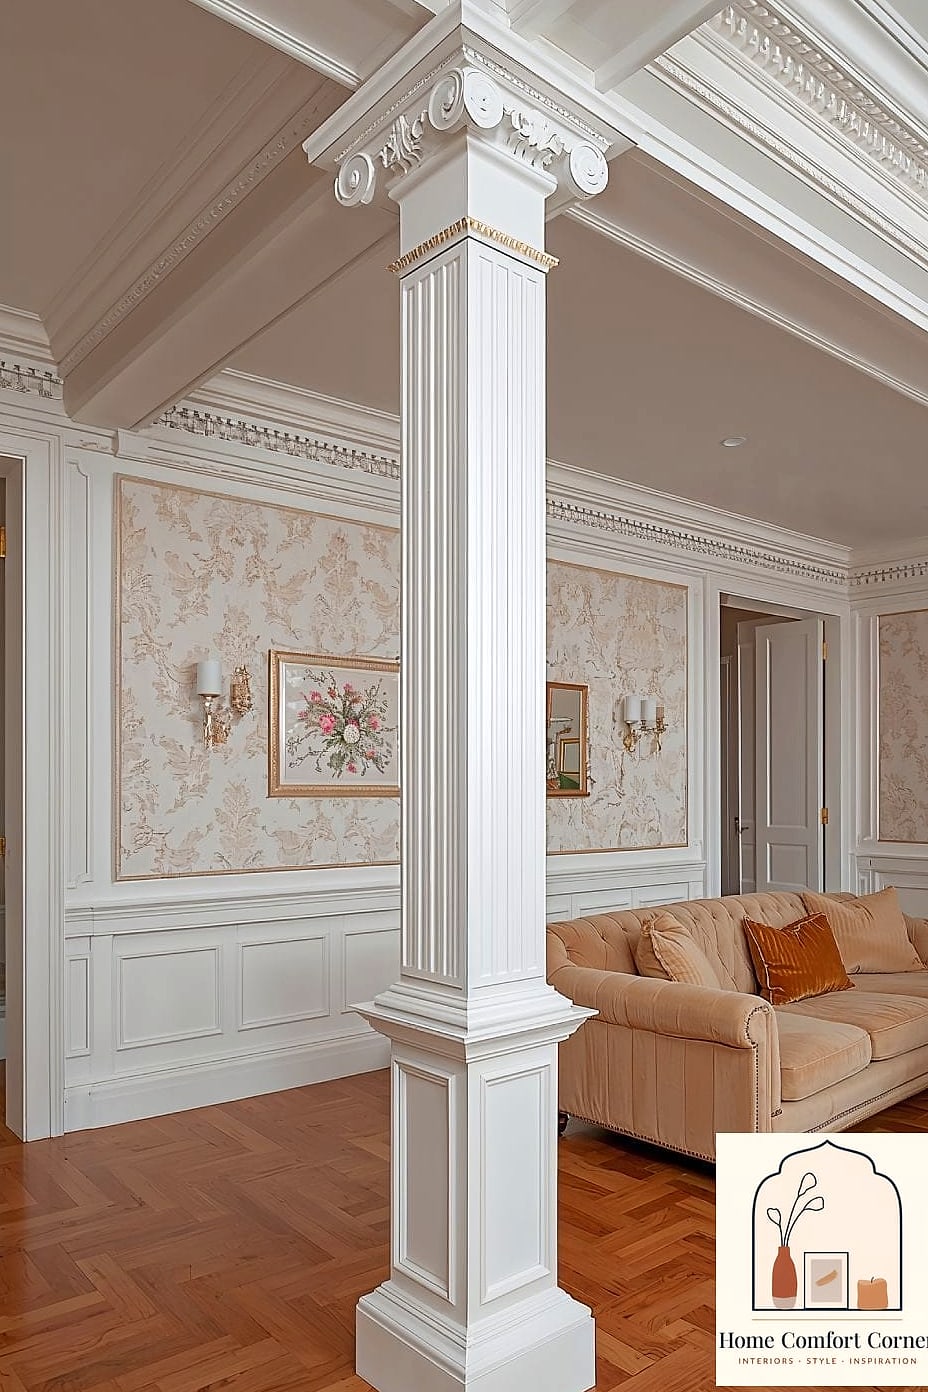
If the pillar backs up to a wall or sits near cabinetry, some designers build small hidden storage compartments right into the structure. Think a slim pull-out drawer or a small door disguised as part of the trim.
This is a smart solution for smaller homes where every bit of storage counts, especially near entryways or kitchens. Baskets, bins, or drawer organizers inside keep things tidy once the space is built.
It’s a more involved carpentry project, but the practicality makes it worth considering if storage is tight.
Add a Decorative Wood Beam Connection

Connecting the top of the pillar to a ceiling beam with matching wood trim ties the whole architectural feature together. It makes the pillar look like part of a bigger design plan rather than a standalone obstacle.
This works especially well in homes with exposed beam ceilings already, since it creates visual continuity. Staining both elements the same warm wood tone keeps everything cohesive.
It’s a project best left to someone comfortable with trim carpentry, but it makes a huge difference in how “finished” the space feels.
Keep It Minimal With Matte Black Paint
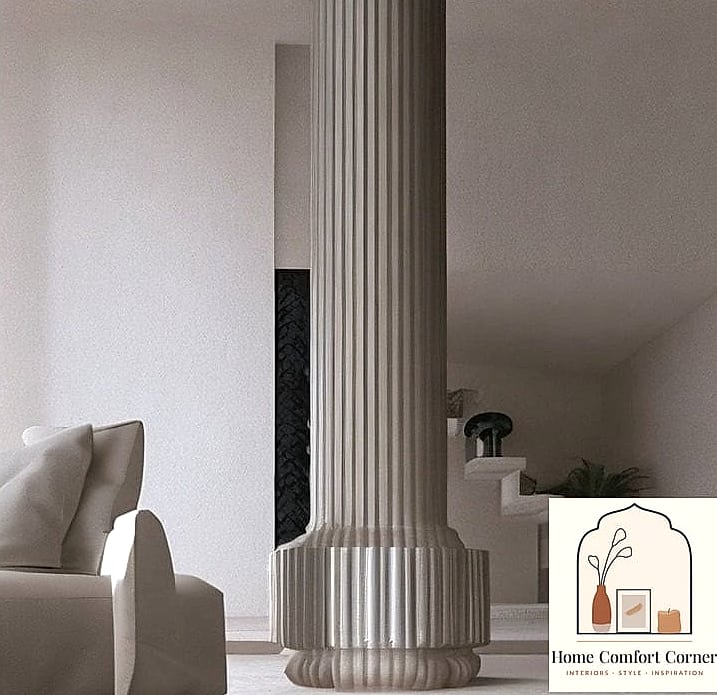
For a more modern, understated approach, some designers simply paint the pillar matte black and let it stand as a quiet architectural statement. No trim, no texture — just a clean, confident color choice.
This works beautifully in modern, industrial, or minimalist interiors where you want the pillar to read as a deliberate design element rather than something to disguise. It pairs nicely with black fixtures or brushed brass hardware elsewhere in the room.
It’s one of the most budget-friendly options on this list, and it’s easy to touch up if it gets scuffed over time.
Pillars have a funny way of feeling like the least exciting part of a room until you actually start designing around them. Once you try even one or two of these ideas, you’ll probably find yourself looking at that column a lot differently — less like an obstacle, more like an opportunity. Pick whichever tip fits your style and budget best, and don’t be afraid to mix a couple together for a look that feels entirely your own.