19 Bar Interior Design Tips From Top Interior Designers
- Pick a Focal Point Wall
- Layer Your Lighting
- Choose a Durable Countertop Material
- Add Open Shelving for Glassware
- Mix Closed Storage With Display Space
- Install a Statement Backsplash
- Incorporate a Mirrored Backdrop
- Choose Hardware That Matches Your Metals
- Add a Textured Bar Front
- Include a Statement Bar Cart
- Use a Neutral Palette With One Bold Accent
- Add Comfortable Barstools
- Build in a Wine Storage Feature
- Incorporate Natural Materials
- Add a Statement Light Fixture Above the Bar
- Create a Designated Ice and Mixer Station
- Use Layered Textiles for Warmth
- Display Art or Personal Collections
- Keep Everything Easy to Clean
19 Bar Interior Design Tips From Top Interior Designers
Building a home bar is one of those projects that sounds simple until you actually start planning it out. There’s more to it than just plopping a few bottles on a shelf and calling it done. Whether you’re working with a full wet bar in the basement or a small bar cart in the corner of your dining room, the details matter more than people realize.
I’ve pulled together advice from designers who actually do this for a living, and the tips below cover everything from layout to lighting to the little finishing touches that make a bar feel intentional instead of thrown together. Let’s get into it.
Pick a Focal Point Wall
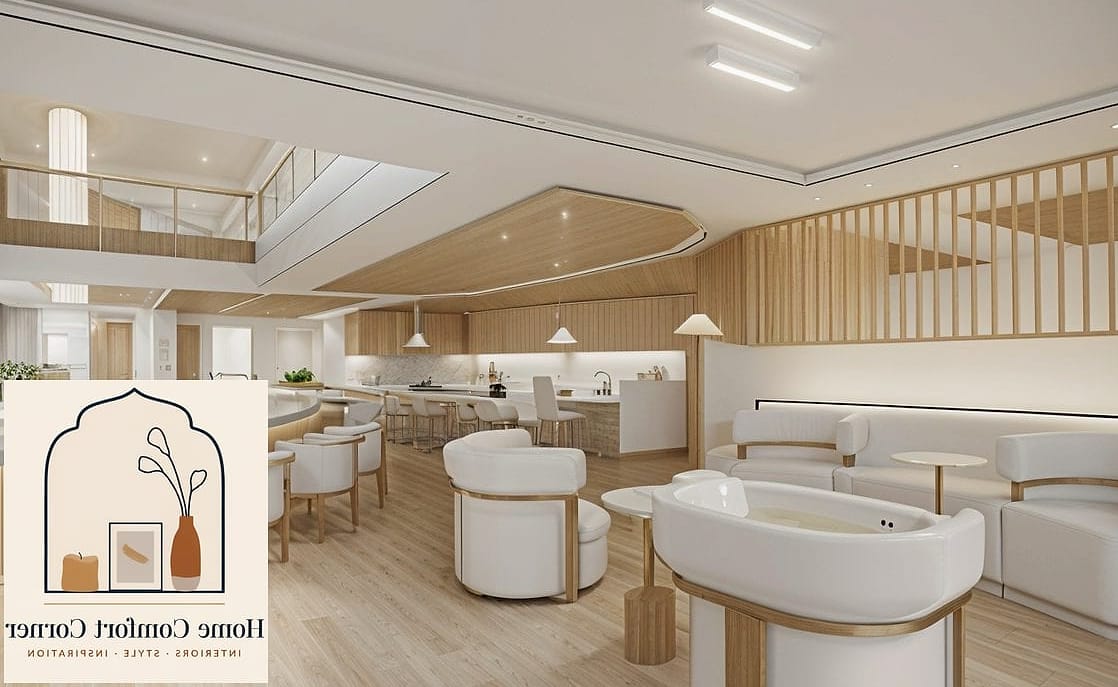
Every good bar needs a wall that draws the eye the second you walk into the room. Designers often suggest using a bold wallpaper, a slab of natural stone, or even a mirrored backsplash to give that wall some personality.
This works especially well in open-concept spaces where the bar might otherwise blend into the background. A dark accent color like deep green or navy behind the shelving instantly makes bottles and glassware pop.
If you’re renting, peel-and-stick wallpaper is a solid workaround that still gives you that designer-built look without the commitment.
Layer Your Lighting
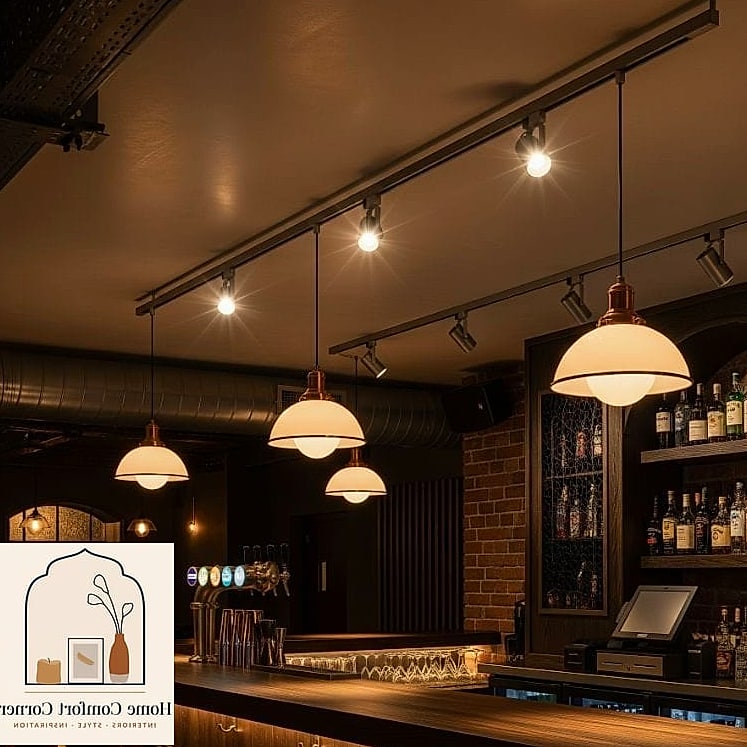
Flat, single-source lighting is probably the most common mistake in home bars. You want layers here: under-cabinet lighting to highlight bottles, a statement pendant over the counter, and maybe some warm LED strips tucked behind shelving.
Dimmers are worth the extra cost too. A bar that’s bright enough for mixing drinks at 6pm should be able to shift to something moodier by 9pm.
Brass or black fixtures both work well depending on your overall palette, but the real trick is having at least two or three light sources instead of relying on one overhead fixture.
Choose a Durable Countertop Material
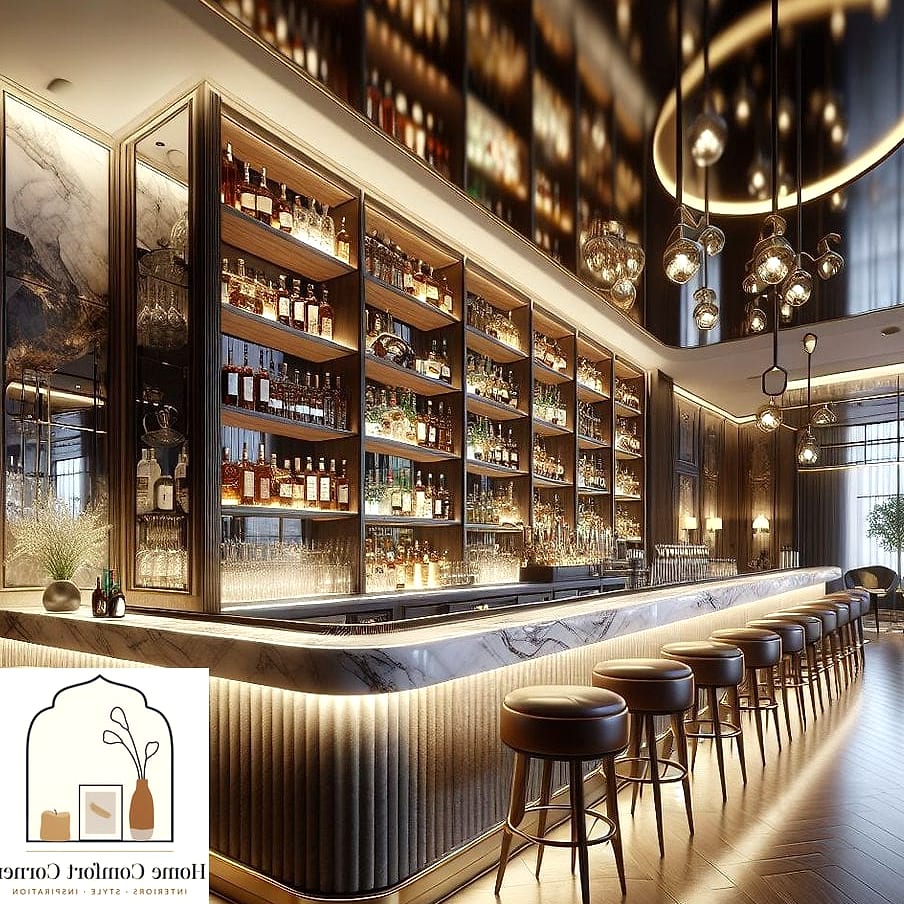
Bars see a lot of spills, so the countertop choice matters more than people expect. Quartz is a favorite among designers because it resists staining and doesn’t need sealing like natural stone does.
Butcher block brings warmth and works great for a more rustic or farmhouse-style bar, though it does need regular oiling to hold up against moisture.
For a more luxurious look, honed marble is gorgeous, but go in knowing it will develop character over time from citrus and wine exposure. Some people love that patina, others don’t.
Add Open Shelving for Glassware
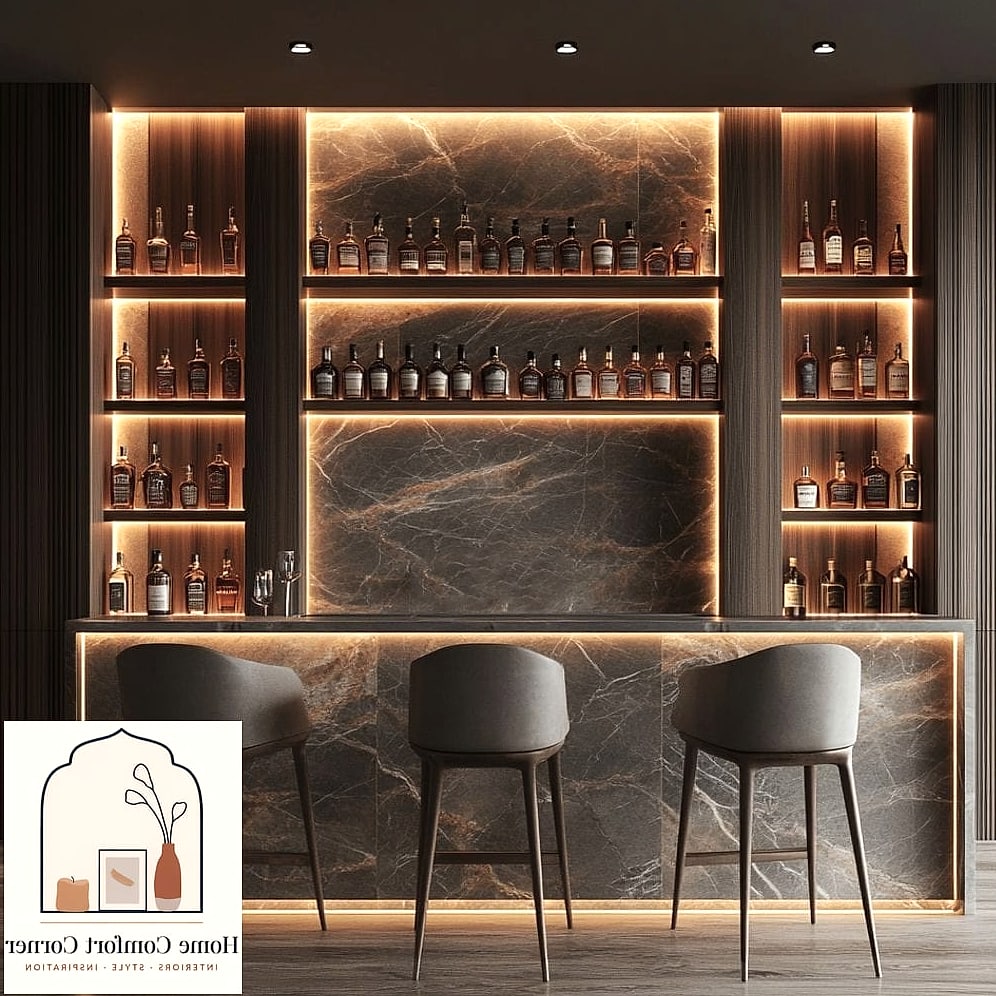
Open shelving does double duty here. It shows off your glassware collection and keeps everything within easy reach when you’re mixing drinks for guests.
Floating shelves in a warm wood tone add texture against a tiled or painted backsplash. Stack your glasses by type and leave a little breathing room instead of cramming everything in tight.
The one thing to keep in mind is dust. Open shelving looks great but does require more frequent wiping down than closed cabinetry.
Mix Closed Storage With Display Space
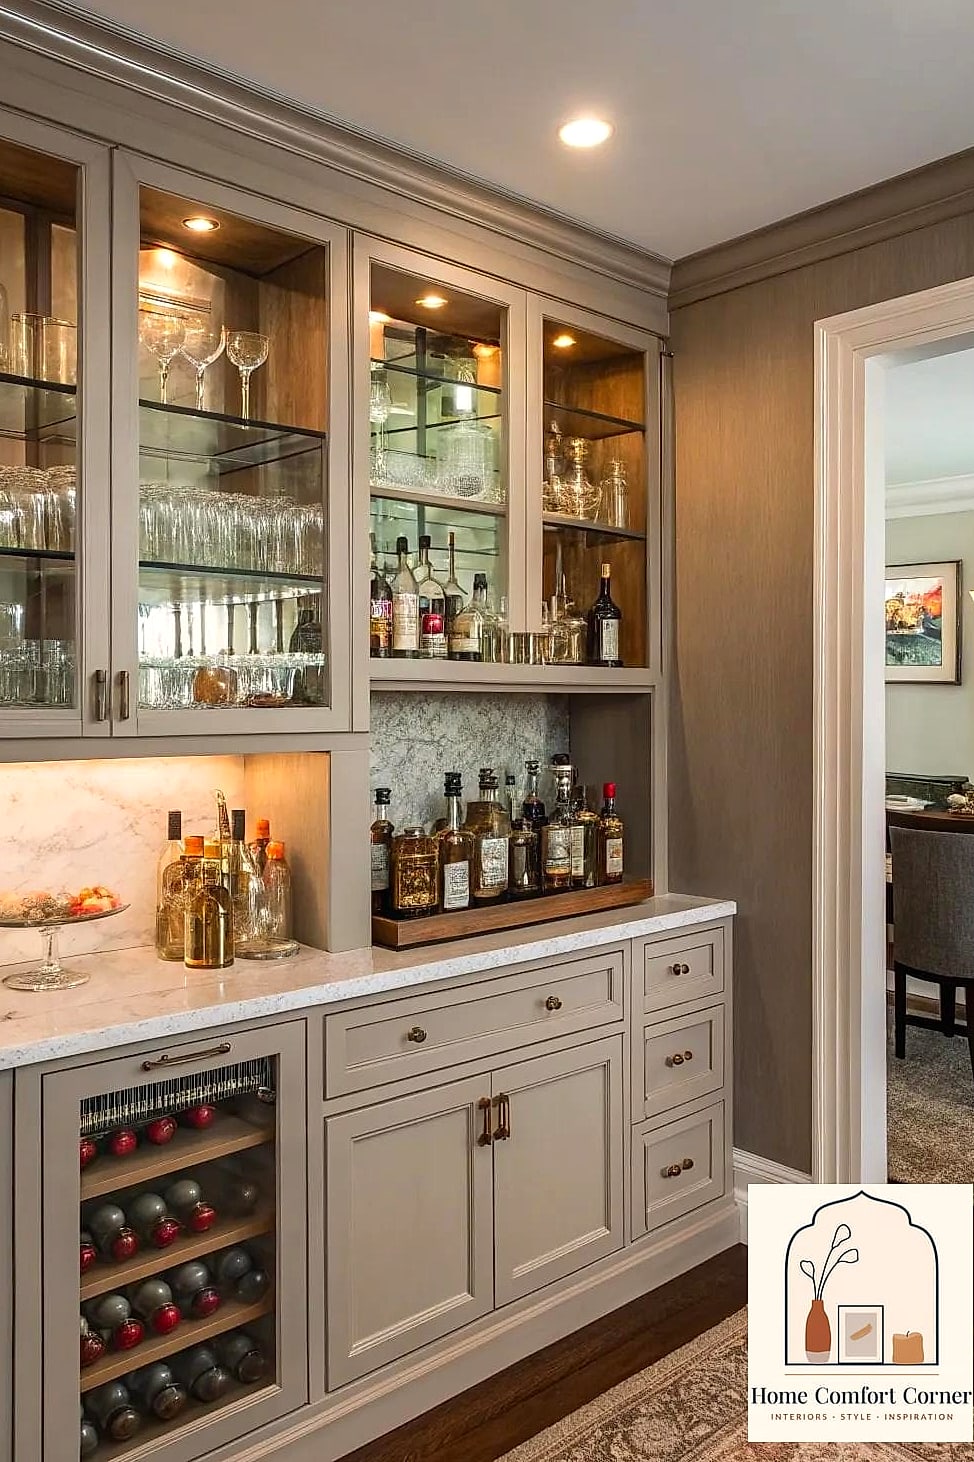
While open shelving looks great, you still need somewhere to hide the less photogenic stuff, mixers, extra napkins, that half-used bag of cocktail garnishes nobody wants to see.
A mix of upper open shelving and lower closed cabinetry gives you the best of both worlds. Designers often recommend glass-front cabinets as a middle ground if you want some concealment without losing the display effect entirely.
This combo also just makes practical sense for busy households or anyone who wants the bar to look tidy at a moment’s notice.
Install a Statement Backsplash
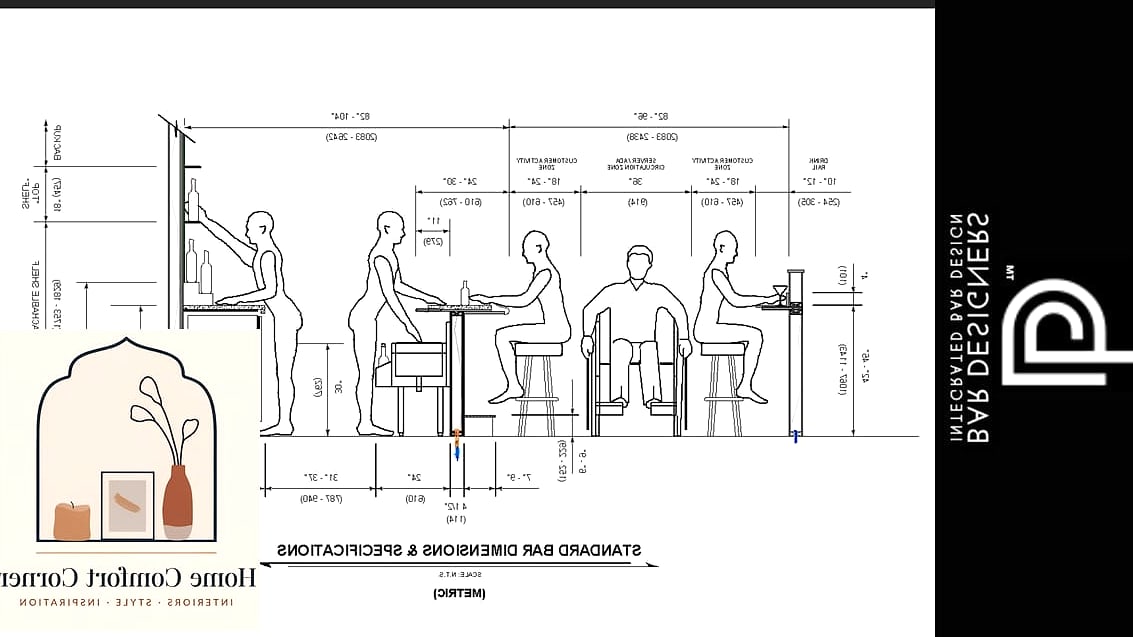
The backsplash behind your bar is a chance to go a little bolder than you might in a kitchen. Since this isn’t a space where you’re cooking daily, you can experiment with patterns and materials that feel more decorative.
Zellige tile in a rich blue or terracotta tone adds handmade texture. A herringbone pattern in marble or ceramic also brings visual interest without overwhelming the space.
If you want something budget-friendly, peel-and-stick tile has come a long way and can mimic these higher-end looks convincingly enough for a low-traffic area like a bar.
Incorporate a Mirrored Backdrop
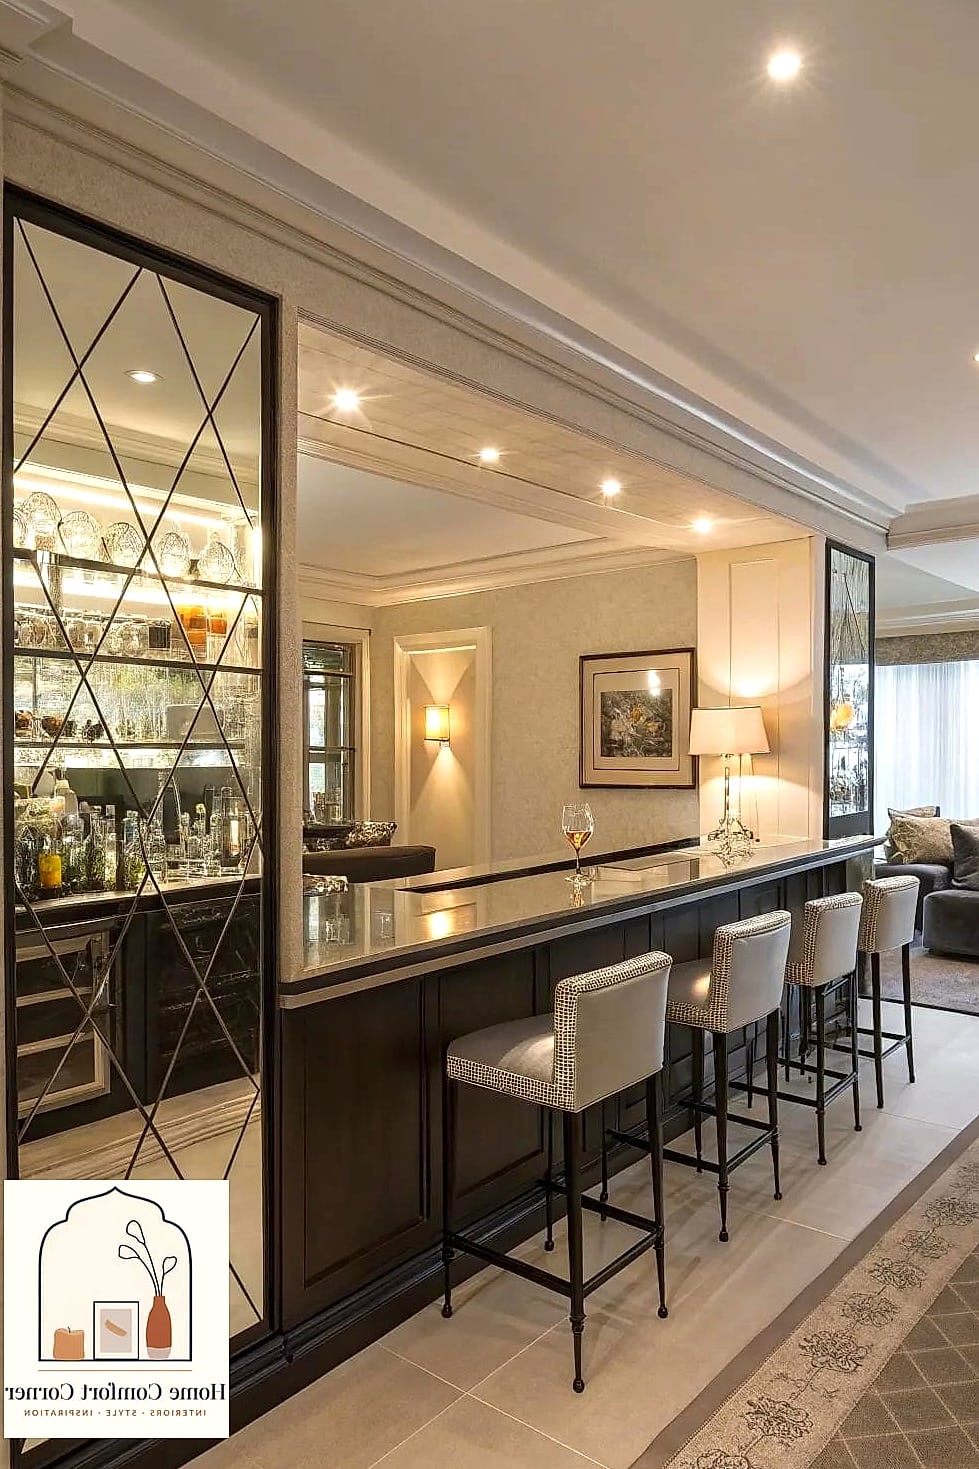
Mirrors behind a bar aren’t just decorative, they actually make the space feel bigger and bounce light around, which is especially helpful if your bar is tucked into a windowless nook.
Antiqued or smoked mirror panels add a moodier, more sophisticated feel compared to plain glass. They also do a nice job of visually doubling your bottle collection, which never hurts.
This is a detail that shows up again and again in professionally designed bars because it solves a lighting problem and a style problem at the same time.
Choose Hardware That Matches Your Metals
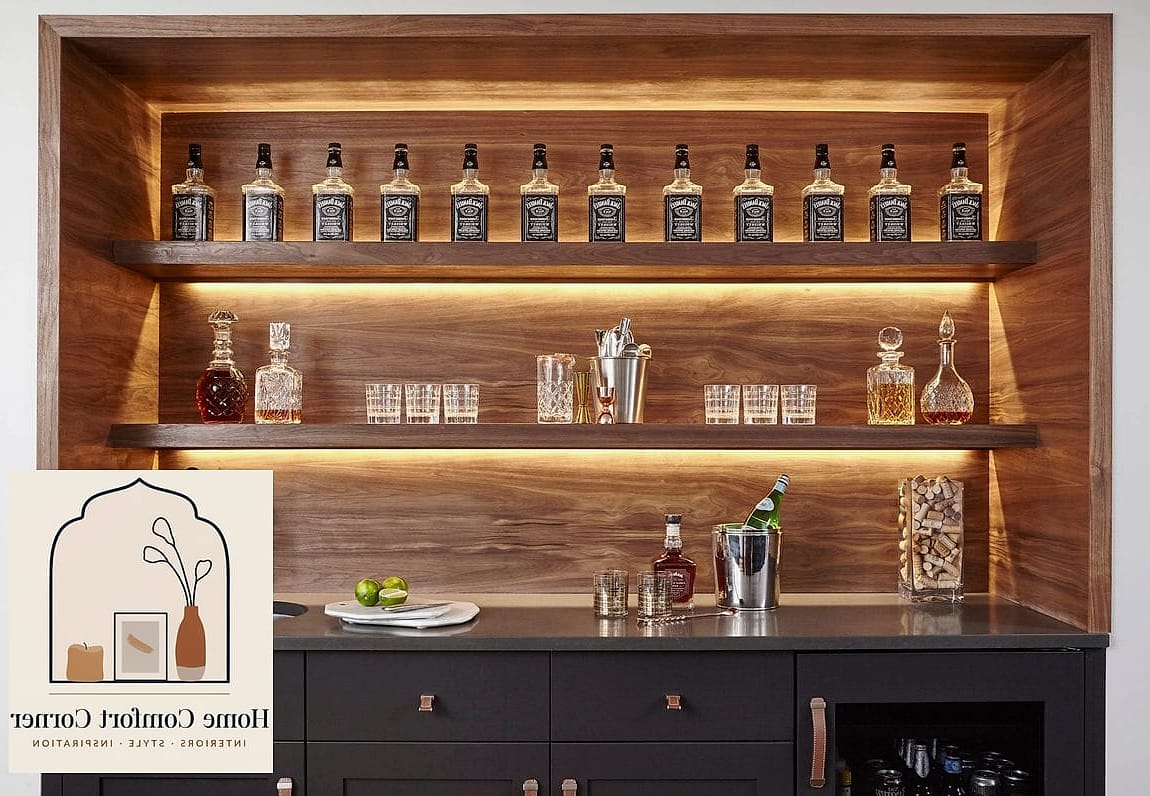
Small details like cabinet pulls and faucet finishes get overlooked, but they tie the whole look together. Brushed brass hardware feels warm and a little vintage, while matte black leans more modern and moody.
Try to stay consistent with your metal finishes throughout the bar area, including any pendant lights or barstool frames. Mixing metals can work, but it takes a more practiced eye to pull off without looking accidental.
If you’re unsure, picking one dominant metal and one accent metal is a safer bet than juggling three or four.
Add a Textured Bar Front
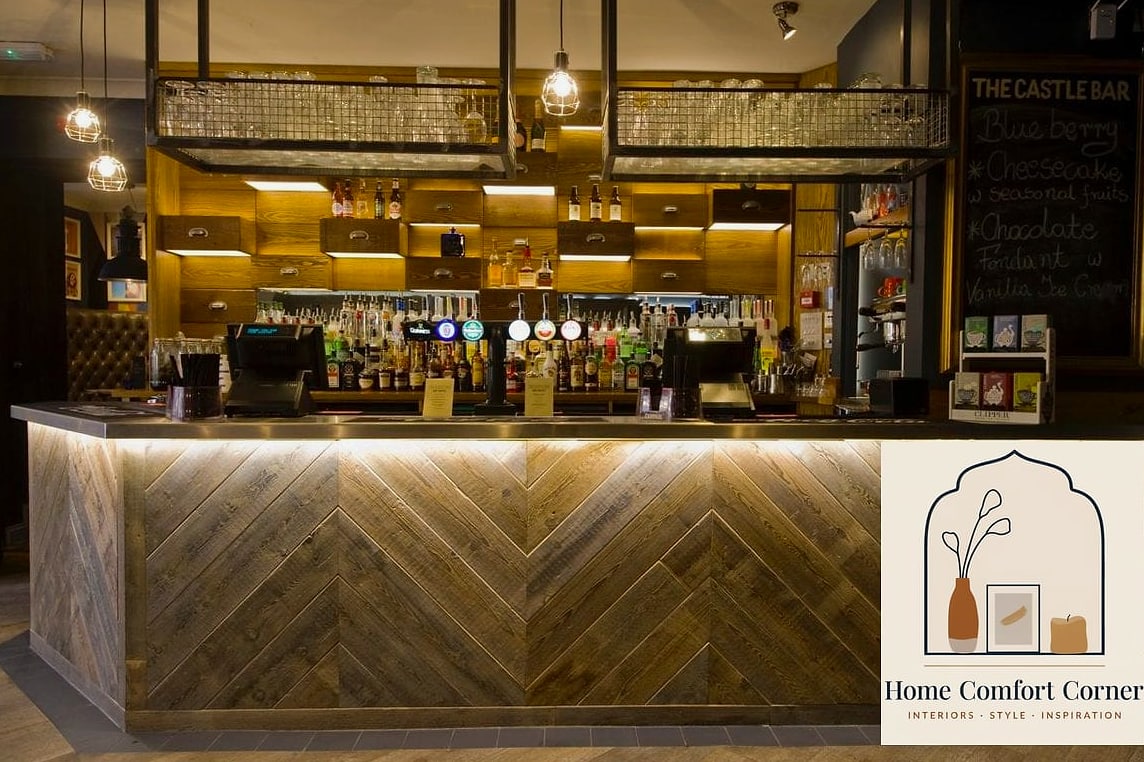
The front panel of your bar, whether it’s a kitchen island doubling as a bar or a dedicated built-in, is a great spot for texture. Reeded wood paneling, fluted panels, or even wicker inserts add dimension that a flat panel just can’t match.
This detail tends to photograph really well too, which matters if you’re the type who likes to share your space online.
For a DIY-friendly version, reeded wood panels can be found at most home improvement stores and installed without too much trouble over a weekend.
Include a Statement Bar Cart
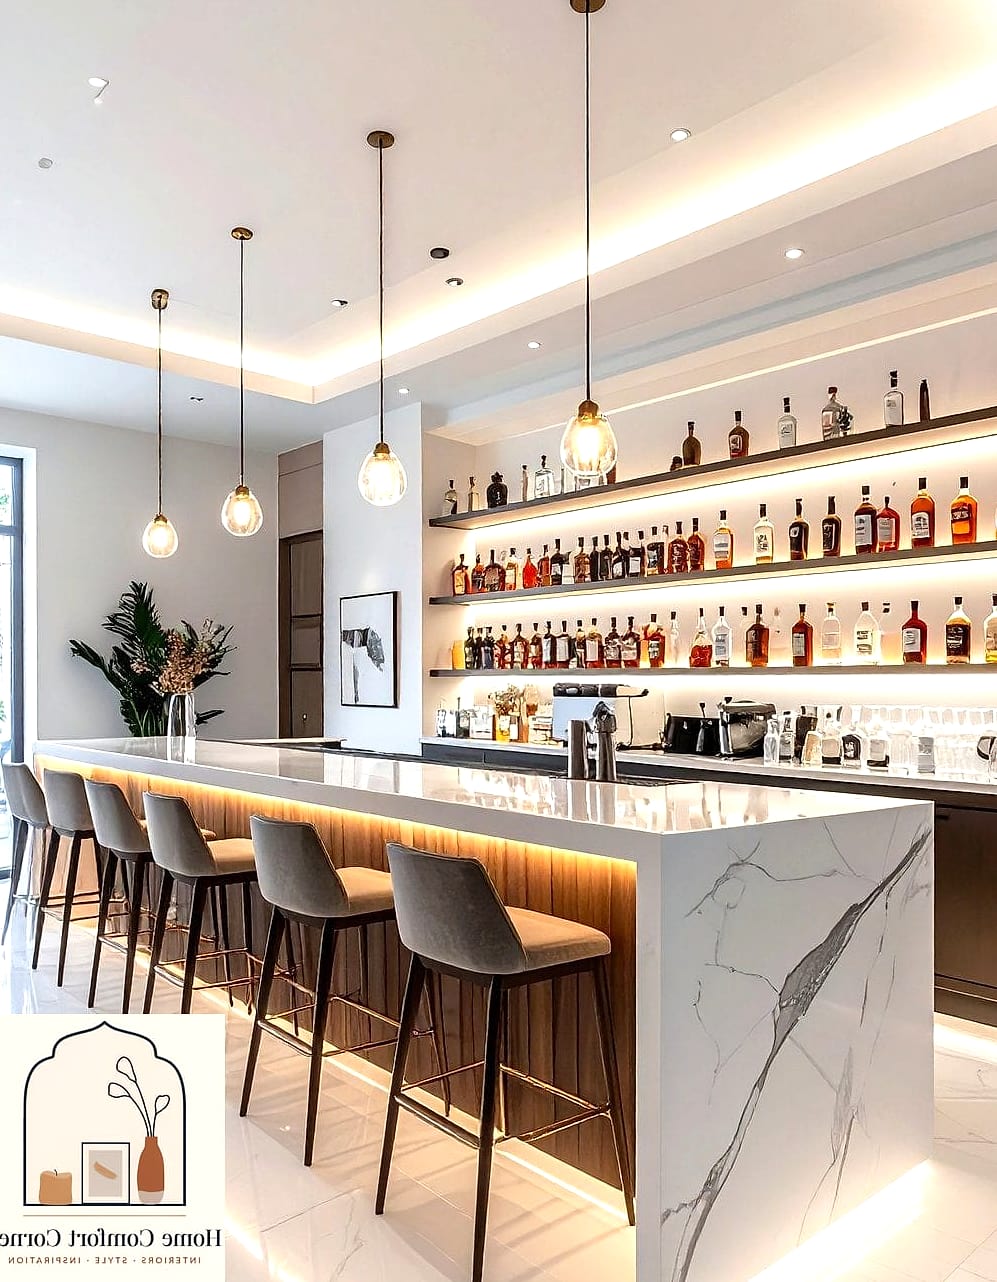
If a built-in bar isn’t in the cards right now, a bar cart is a smart way to get that same design impact in a smaller footprint. Look for one with brass or black metal framing and at least two tiers.
Bar carts work in nearly any room, living rooms, dining nooks, even a corner of a home office, and they’re completely renter-friendly since there’s no installation involved.
Style it with a mix of bottle heights and a small tray to keep things from looking cluttered. A little greenery on top softens the whole look.
Use a Neutral Palette With One Bold Accent
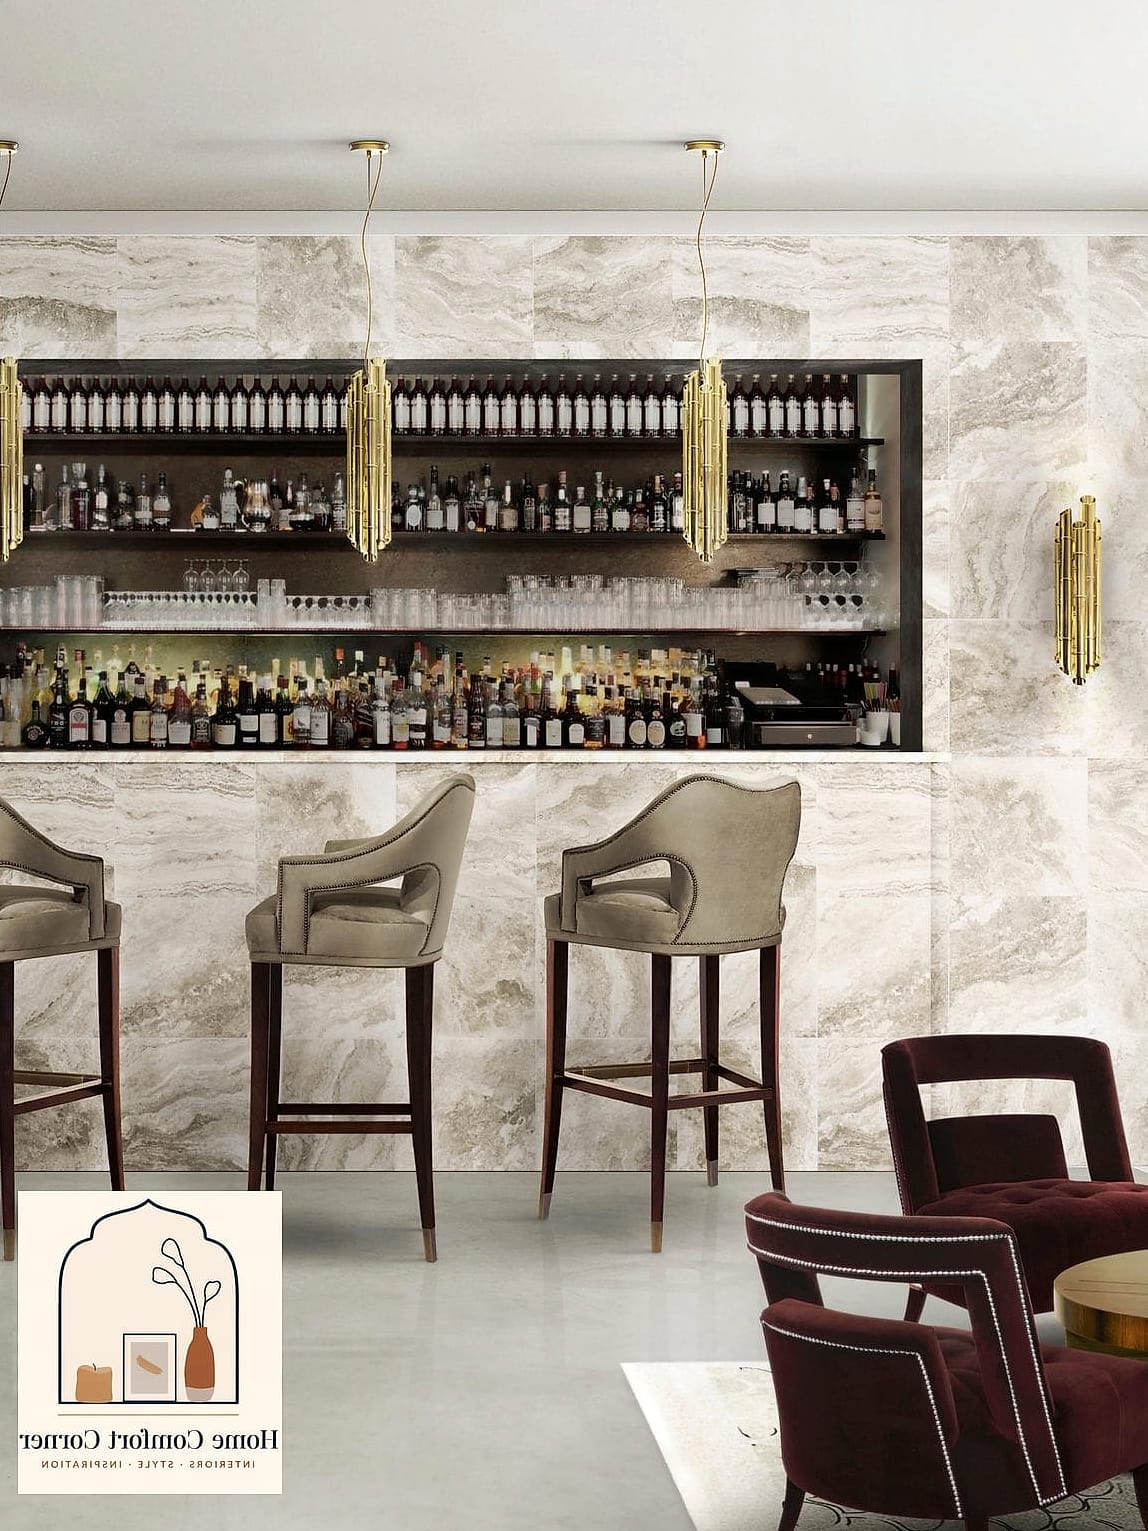
Designers often lean toward a mostly neutral color scheme for bars, think warm whites, soft grays, or greige, with one bold accent color doing the heavy lifting.
That accent might show up in the backsplash, the barstool upholstery, or even just the bottles and glassware you choose to display. This approach keeps the space feeling curated instead of chaotic.
It also means you can swap out that accent color down the road without repainting an entire room.
Add Comfortable Barstools
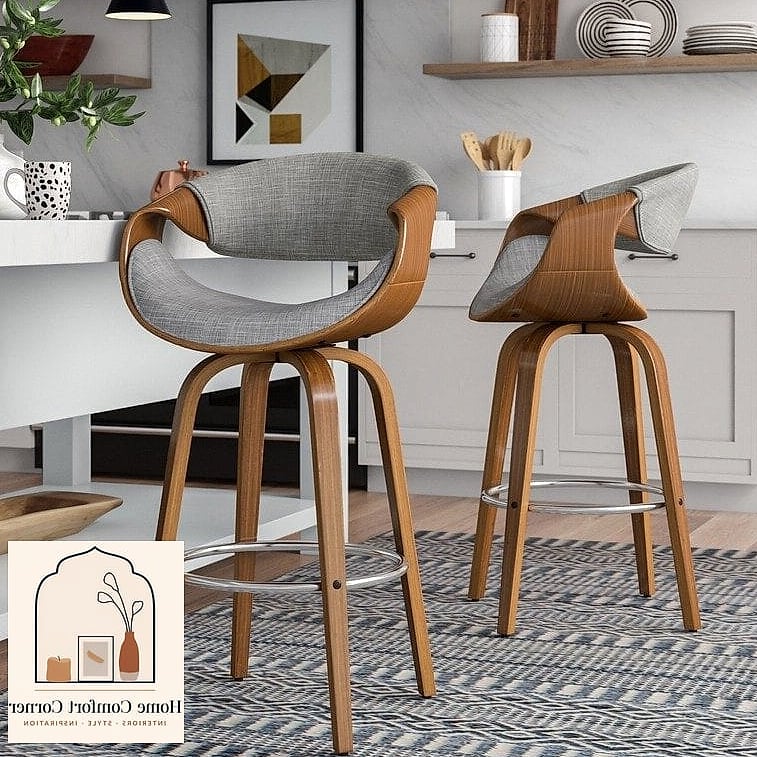
Barstools get a lot of use, so comfort should be just as important as style. Look for stools with some back support if people tend to linger at your bar for more than a quick drink.
Leather or performance fabric upholstery holds up well against spills, which happens more than you’d think at a home bar. Swivel stools are also a nice touch for smaller spaces since they make getting in and out easier.
Height matters too, make sure your stools are proportioned correctly to your counter so nobody’s knees are awkwardly bumping the underside.
Build in a Wine Storage Feature
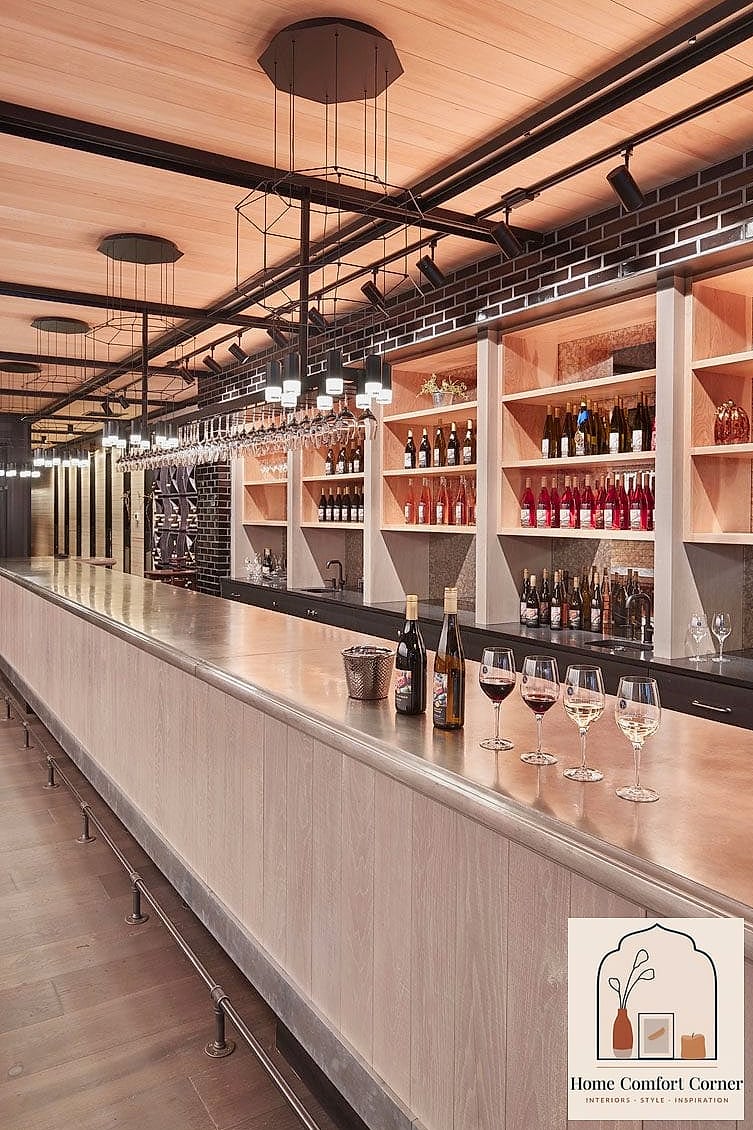
A dedicated wine storage spot, whether that’s a wall-mounted rack, a built-in cubby system, or a small wine fridge, adds function and visual interest at the same time.
Horizontal wine storage keeps corks from drying out, which matters if you’re actually cellaring bottles rather than just displaying them. A glass-front wine fridge also adds a nice glow to the space when lit from within.
For smaller bars, even a simple wall-mounted rack holding six to eight bottles can add that collected, curated feel designers go for.
Incorporate Natural Materials
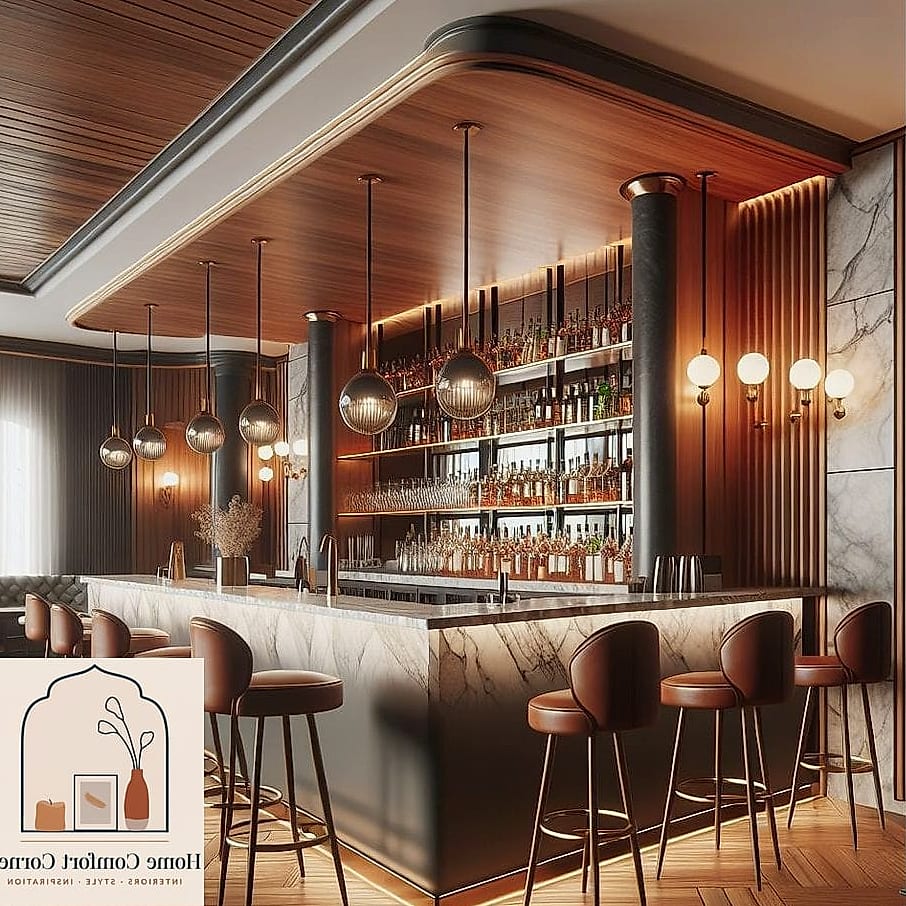
Stone, wood, and rattan all bring warmth to what can otherwise feel like a cold, hard-surfaced space. A stone countertop paired with a wood shelf and a woven pendant light creates nice contrast without feeling mismatched.
This is especially popular in bars with a more organic or Japandi-inspired design direction, where the goal is calm sophistication rather than flashy glam.
Natural materials also tend to age gracefully, which is a nice bonus if you’re planning to keep this space for years rather than redoing it every trend cycle.
Add a Statement Light Fixture Above the Bar
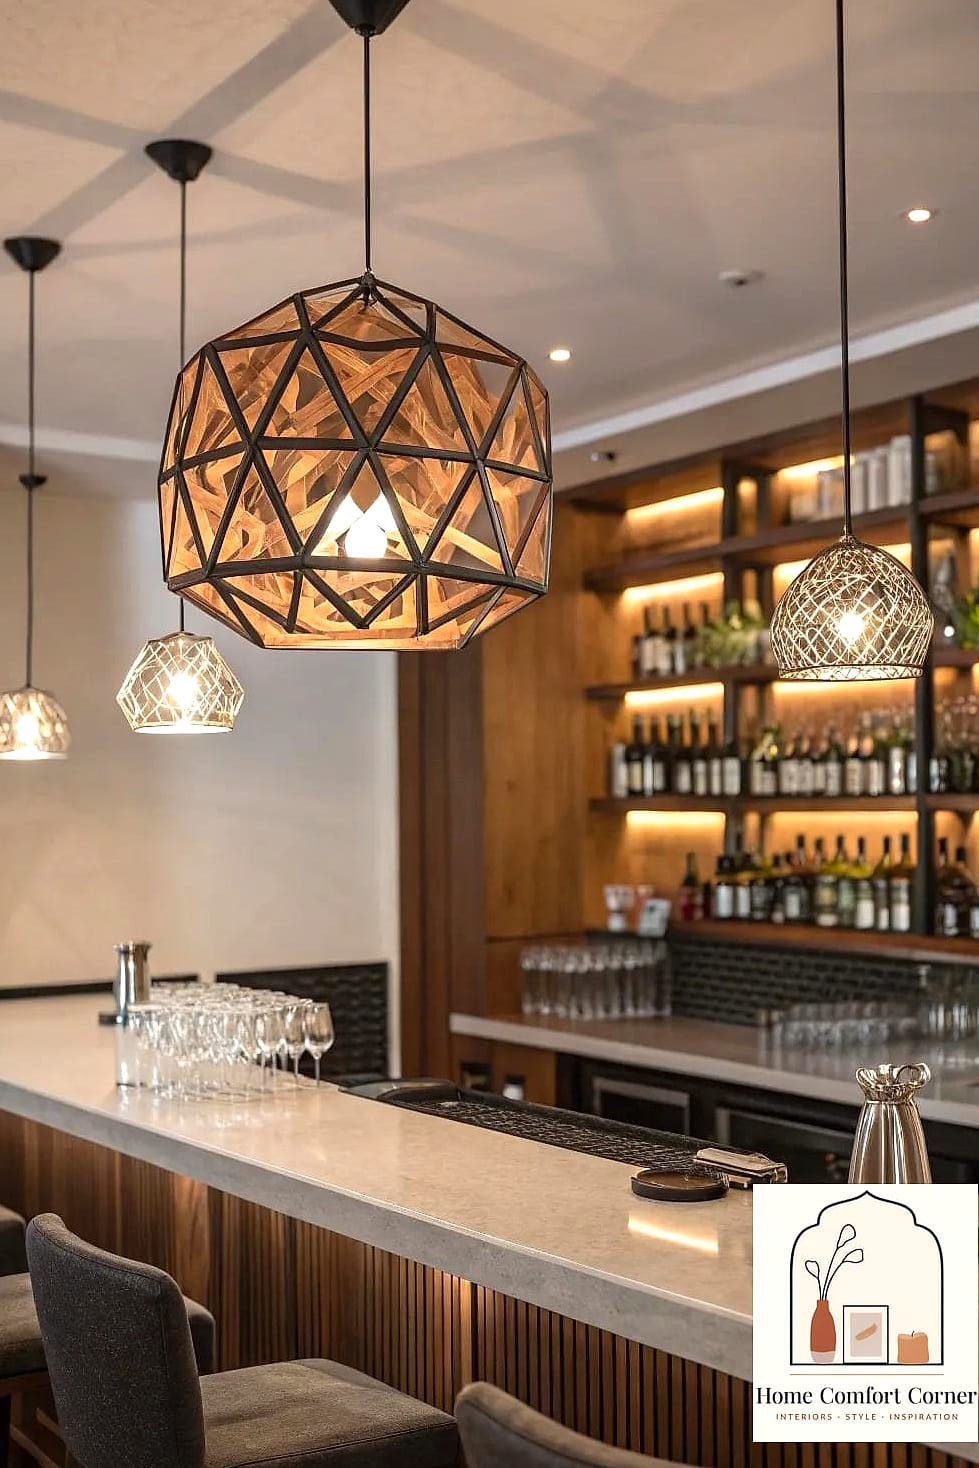
One eye-catching pendant or a small cluster of fixtures above the bar counter gives the space a defined identity. This is your chance to go a little more dramatic than you might elsewhere in the house.
Sculptural glass pendants, woven rattan shades, or a linear fixture in aged brass all work depending on your overall style direction.
Just make sure the fixture is hung at a height that doesn’t interfere with sightlines when people are standing at the bar mixing drinks.
Create a Designated Ice and Mixer Station
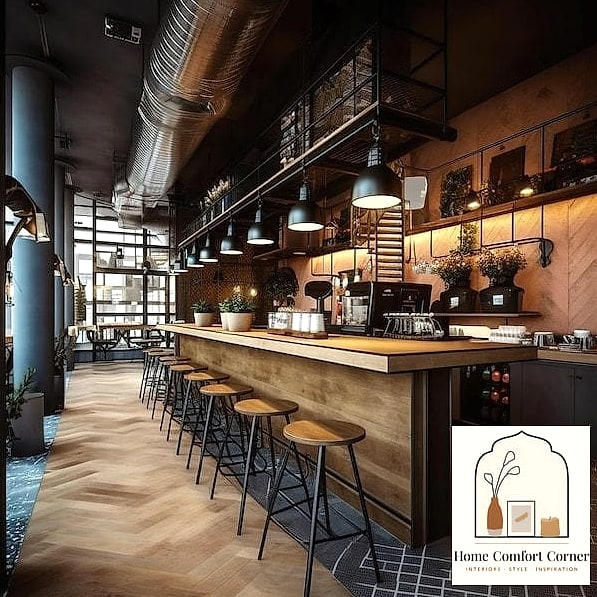
Function matters just as much as looks, and a small dedicated spot for ice, mixers, and garnishes keeps the whole bar area running smoothly during a party.
A built-in ice bin or a simple bucket with tongs on a tray works depending on your setup. Keep bitters, syrups, and garnish tools in a small caddy nearby so you’re not digging through cabinets mid-conversation.
This is one of those practical touches that guests notice even if they can’t quite put their finger on why the space feels so put-together.
Use Layered Textiles for Warmth
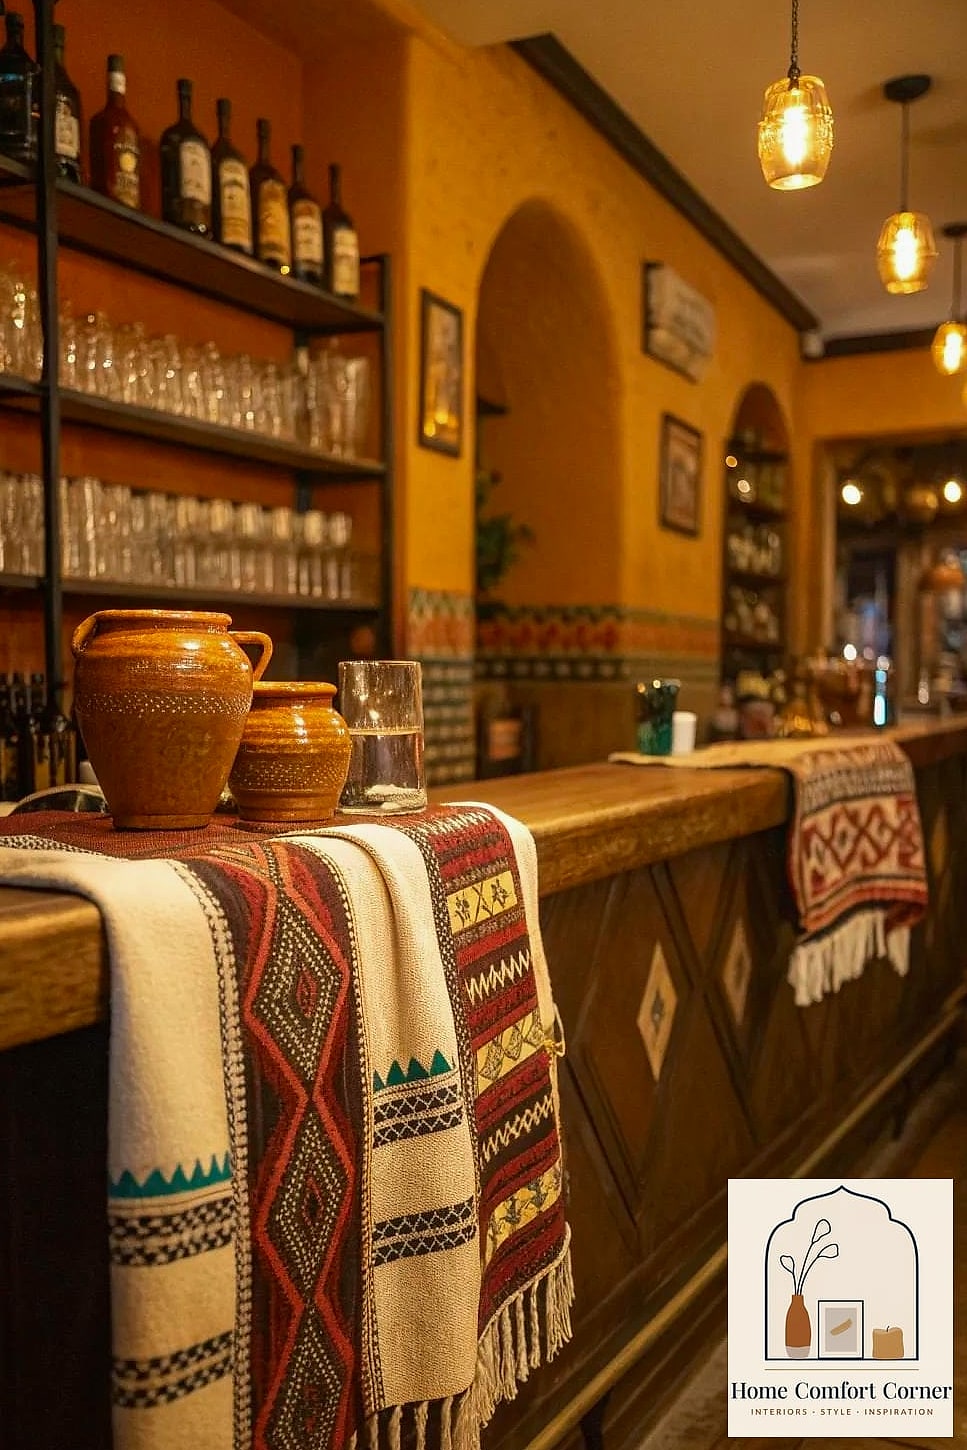
If your bar area includes any seating beyond the stools, a small bench or a couple of accent chairs, throw in some textiles to soften the space. A patterned rug underfoot, a woven throw over a chair back, these small touches keep a hard-surfaced bar area from feeling sterile.
Even a runner along the bar counter for styling purposes (moved aside when actually mixing drinks) adds a layer of coziness that a lot of bars are missing.
Display Art or Personal Collections
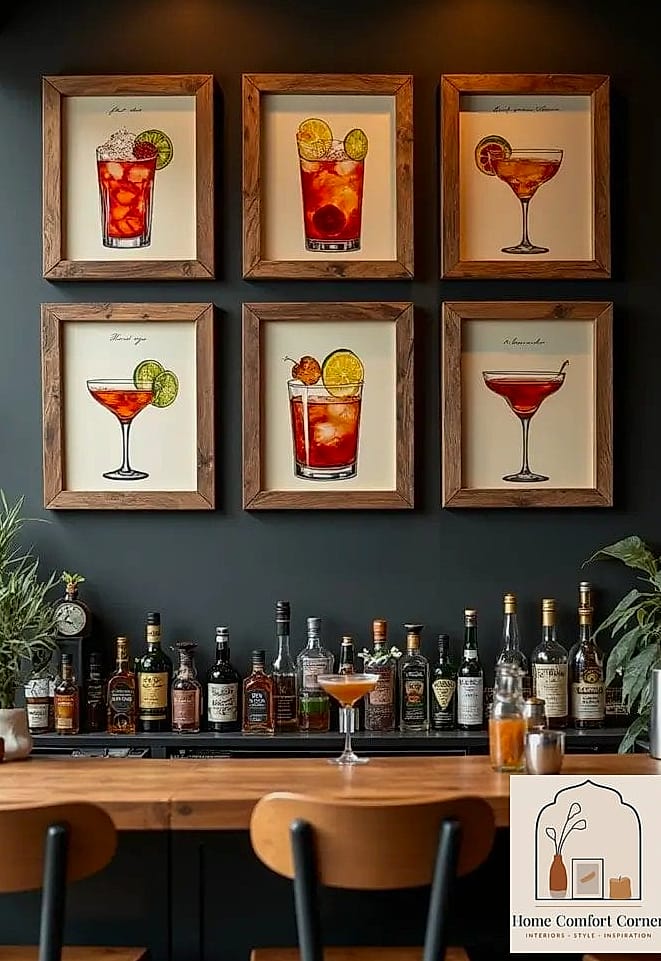
A home bar is a great spot to show off something personal, vintage barware, travel souvenirs, a small art print collection. This is the detail that makes a bar feel like yours instead of a showroom display.
Designers often suggest leaving one small shelf or wall section specifically for this kind of rotating personal display rather than filling every inch with functional items.
It doesn’t need to be expensive art either. A few framed vintage cocktail recipe cards or travel postcards can do the job just as well.
Keep Everything Easy to Clean
With all this focus on style, it’s worth remembering that bars get messy. Sticky spills, citrus splashes, the occasional broken glass, durability and easy cleanup should factor into every material choice you make.
Sealed stone, quartz, and glossy tile all wipe down easily. Matte finishes look beautiful but can show fingerprints and stains more readily, so keep a microfiber cloth nearby if you go that route.
A small drawer with bar towels and a bit of glass cleaner tucked nearby saves you from having to leave the room mid-cleanup, which matters more than people think when you’re hosting.
Bringing all nineteen of these ideas together isn’t necessary for every space, pick the ones that fit your room, your budget, and how you actually plan to use the bar. The best home bars I’ve seen mix a few splurge details with plenty of practical, everyday choices, and that balance is really what makes the space feel both beautiful and livable.