15 Creative Fairy Room Decor Ideas You Haven’t Seen Before
- Moss and Branch Ceiling Canopy
- Mushroom-Shaped Nightlights Built Into the Wall
- A Door Painted to Look Like It Leads Into a Tree Trunk
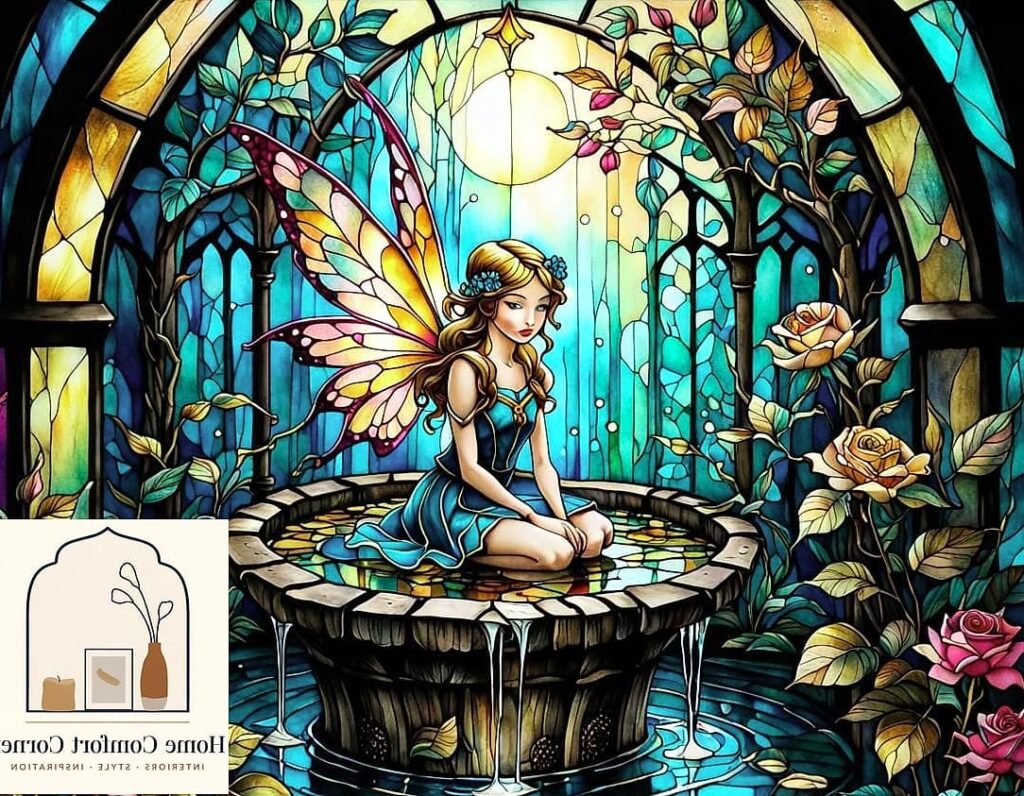
- Stained Glass Contact Paper on Windows
- A Fairy Reading Nook Built Into a Closet
- Botanical Pressed Flower Wall Art in Antique Frames
- A Ceiling Painted Like a Twilight Sky With Real Constellations
- Toadstool Side Table Made From a Tree Stump Slice
- Vintage Birdcages Repurposed as Hanging Plant and Light Fixtures
- A Wallpaper Mural of an Enchanted Forest Path Instead of Florals
- Acorn and Leaf Drawer Pulls on an Otherwise Plain Dresser
- A Woven Willow Branch Headboard
- A Hidden Fairy Door at the Baseboard With a Tiny Light Behind It
- Layered Sheer Curtains in Graduated Forest Tones
- A Fairy Ring Rug Layout Using Mismatched Round Rugs
15 Creative Fairy Room Decor Ideas You Haven’t Seen Before
Fairy-themed rooms have been around for years, but most of them lean on the same tired formula: pink walls, plastic wings, glitter everywhere. If you’re planning a fairy room for a kid (or honestly, for yourself), you probably want something that feels magical without looking like it came straight off a party store shelf. The good news is there’s a whole world of fairy decor ideas that skip the cliché and go straight for the wonder. Here are fifteen ways to bring that enchanted feel into a room while keeping it fresh, personal, and surprisingly easy to pull off.
Moss and Branch Ceiling Canopy
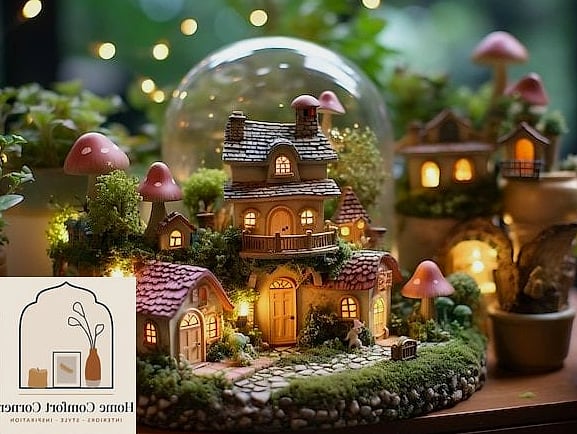
Instead of hanging fake vines from a curtain rod, try building an actual canopy structure using preserved moss panels and real (or high-quality faux) birch branches. Mount a few branches across the ceiling corner to corner, then drape sheer fabric and add small moss clusters where the branches intersect. It reads as an enchanted forest canopy rather than a costume shop backdrop. This works especially well in rooms with higher ceilings, though you can scale it down for standard 8-foot rooms too. Preserved moss doesn’t need water or sunlight, so maintenance is basically zero, and it won’t shed or fade the way dried florals do.
Mushroom-Shaped Nightlights Built Into the Wall
Rather than plugging in a standard nightlight, recess small round LED fixtures into the wall and cover them with resin or felt mushroom caps. You can find kits for this or commission a local woodworker to make custom caps in different sizes. Clustered near the floor along a hallway or bed frame, they cast a warm, dotted glow that looks like bioluminescent fungi rather than a kids’ toy. This is a great option for renters too, since battery-operated puck lights with removable mushroom covers skip the wiring entirely and won’t upset your landlord.
A Door Painted to Look Like It Leads Into a Tree Trunk
This one gets people every time. Paint an interior closet door (or even the bedroom door itself) with a faux bois technique to mimic bark texture, then add a small round window cutout or painted “knot” detail. Suddenly the door isn’t just a door, it’s a portal into the woods. Use a warm brown base coat with darker glazing in the grooves for depth, and finish with a matte varnish so it doesn’t look plastic-y under lamp light. It’s a bigger project than most on this list, but it’s one of those details that makes the whole room feel intentional instead of decorated.
Stained Glass Contact Paper on Windows
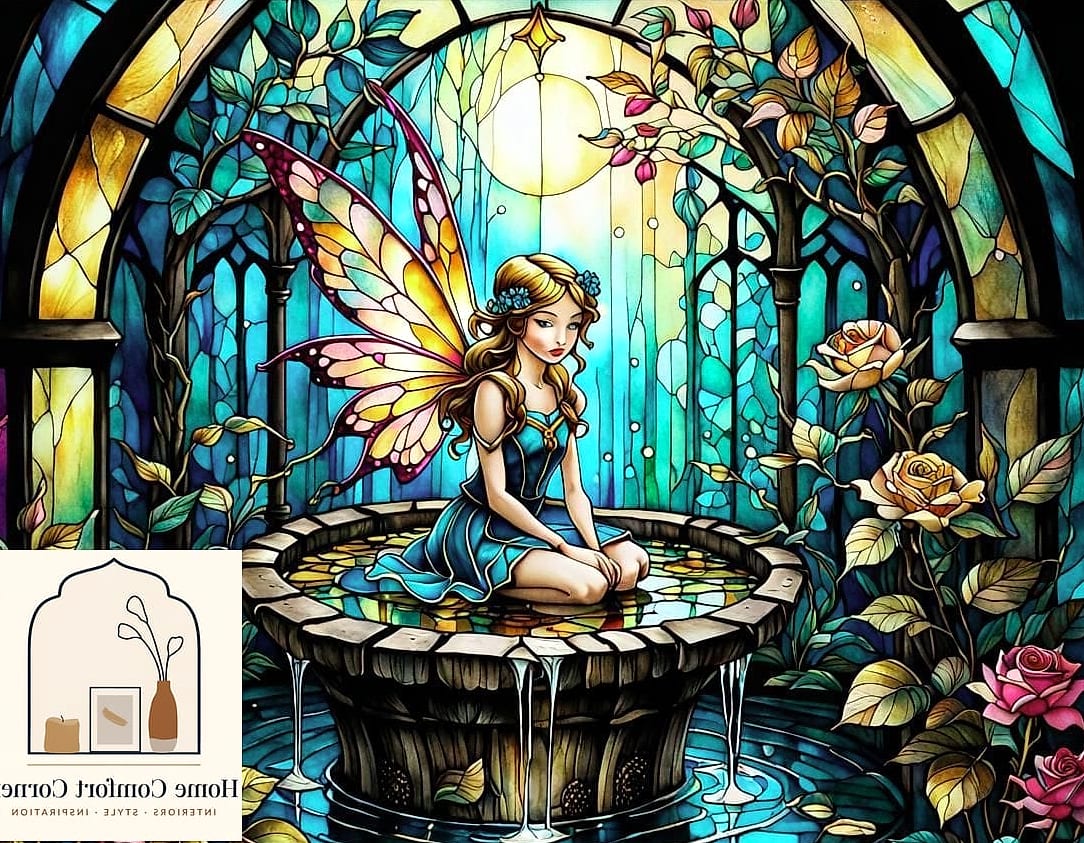
Skip the plastic fairy decals and go for stained-glass-style window film instead. You can find peel-and-stick options in jewel tones, cut them into leaf or wing shapes, and layer them along the window edges so sunlight filters through in colored patterns during the day. It’s renter-friendly, removable without residue on most glass, and gives the room an almost stained-glass-chapel feeling that reads as elegant rather than childish. Rotate the design seasonally if you want to keep things interesting.
A Fairy Reading Nook Built Into a Closet
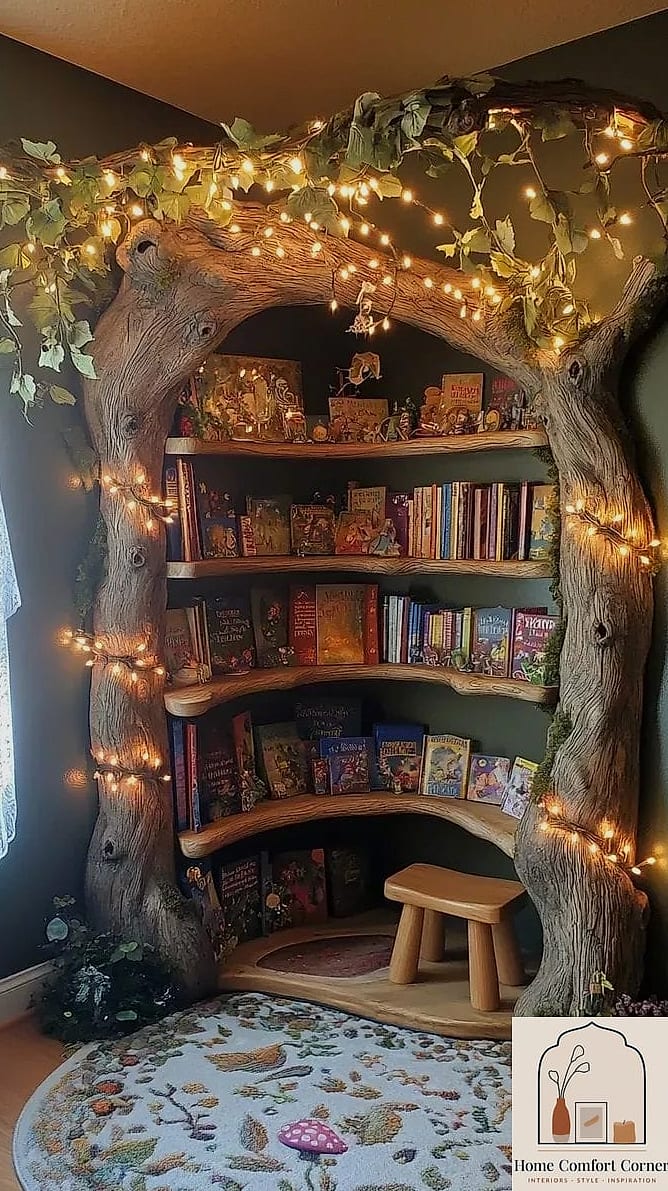
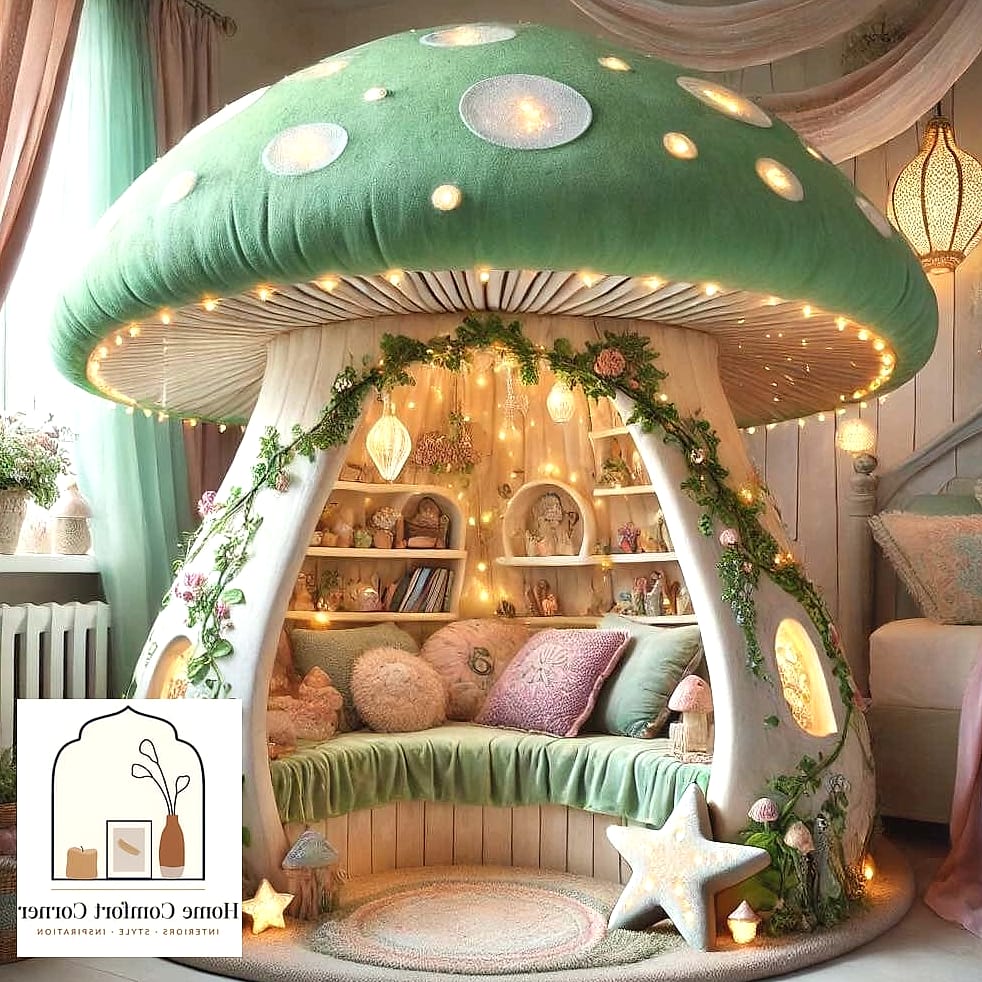
If there’s an underused closet in the room, pull the doors off and turn the whole thing into a reading nook. Line the back wall with a soft mural or textured wallpaper, add a cushioned bench seat with storage underneath, and hang a small woven canopy or string lights along the top. This gives kids (or adults) a cozy hideaway spot that feels separate from the rest of the room, almost like stepping into a hollowed-out tree. It’s also a smart use of dead space if the room is on the smaller side.
Botanical Pressed Flower Wall Art in Antique Frames
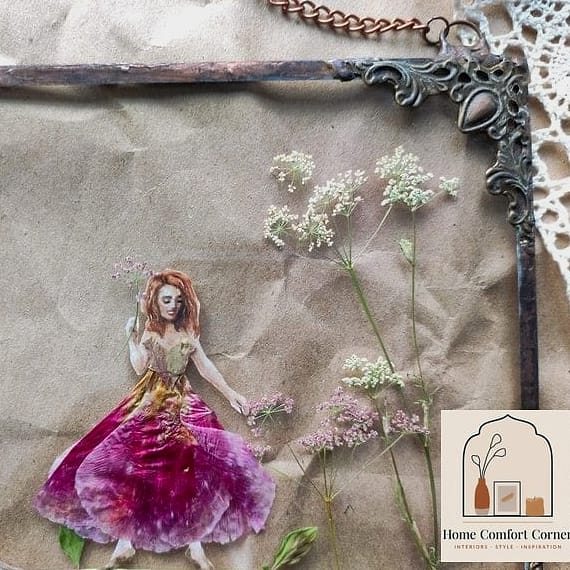
Instead of cartoon fairy prints, press real flowers and leaves and frame them in mismatched vintage-style frames with slightly aged brass or gold finishes. Arrange them in an asymmetrical gallery wall pattern. This grounds the fairy theme in something organic and real rather than fantasy-cartoon, and it tends to age well with the child as they get older since it doesn’t scream “kids’ room.” Pressed flower kits are inexpensive and make a nice weekend project if you want to DIY the whole thing.
A Ceiling Painted Like a Twilight Sky With Real Constellations
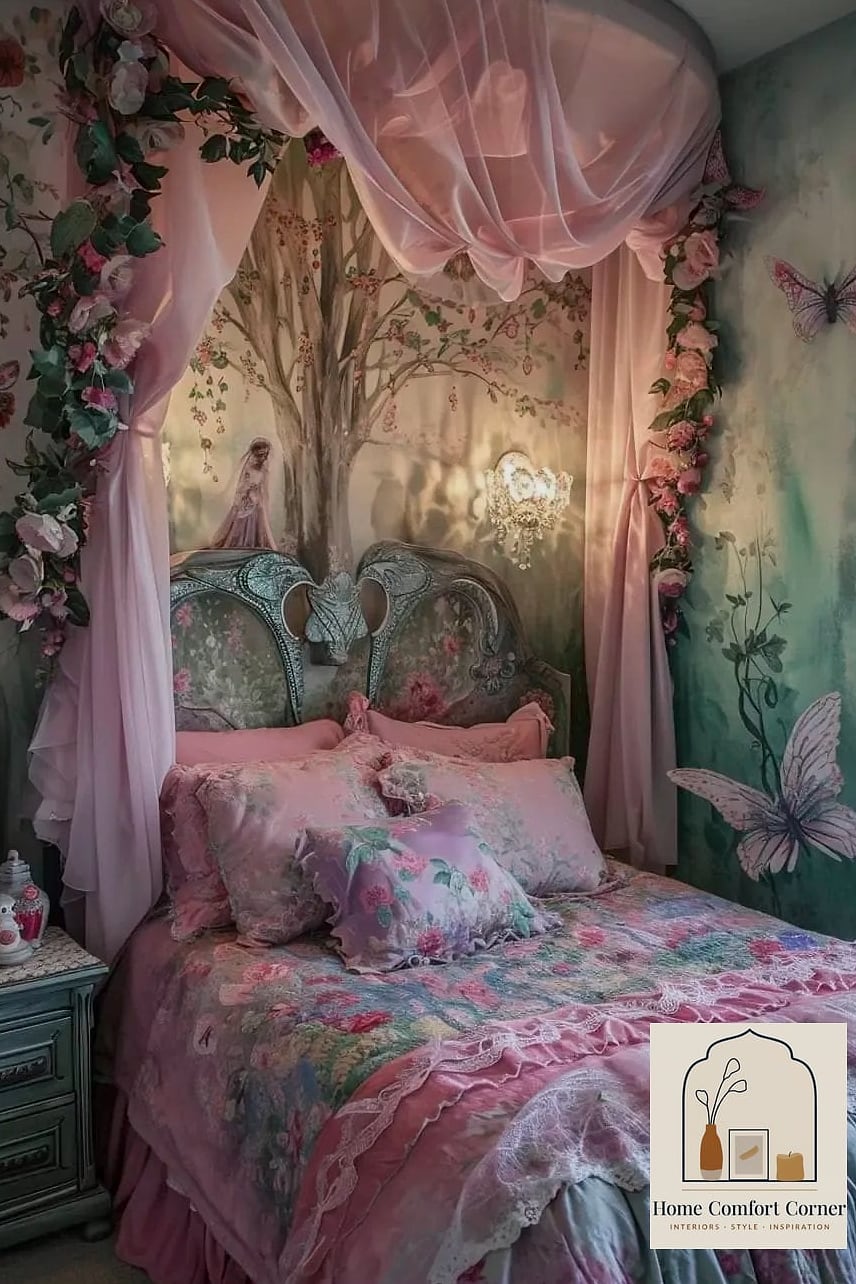
Rather than glow-in-the-dark stars scattered randomly, paint the ceiling a deep dusty blue or plum and add actual constellation patterns using a star projector as your guide, then dot them with tiny reflective paint or subtle glow pigment mixed into the topcoat. During the day it just looks like a moody, sophisticated ceiling color. At night, it transforms. This is one of those upgrades that instantly makes a kids’ room feel more custom without requiring a full renovation.
Toadstool Side Table Made From a Tree Stump Slice
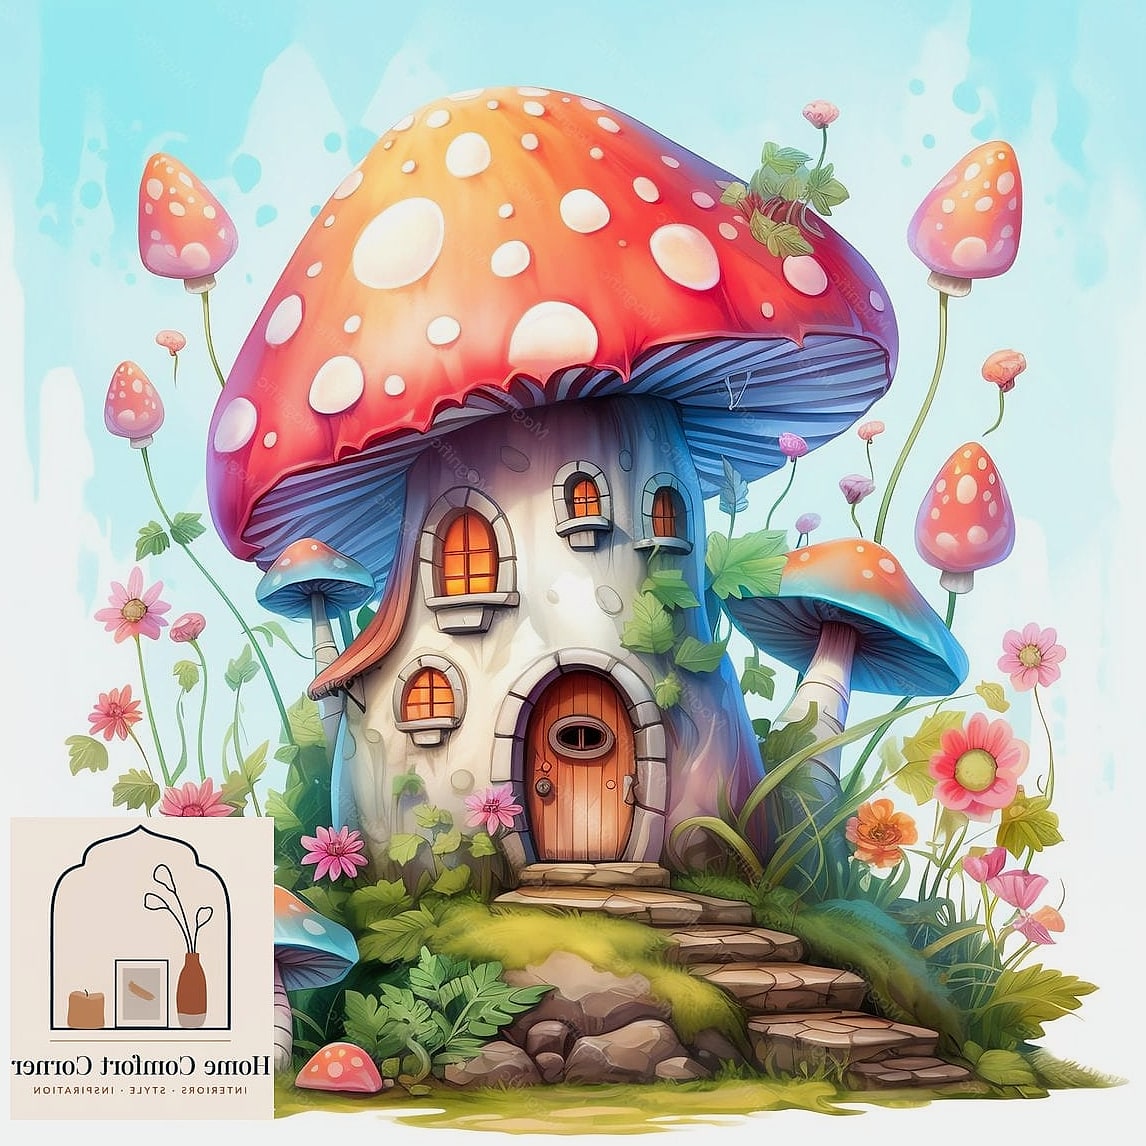
Look for a real wood stump slice (many woodworking shops sell them) and pair it with a rounded red or cream-colored top to mimic a toadstool silhouette. Use it as a nightstand or reading table next to the bed. Unlike plastic toadstool furniture, the natural wood grain keeps it from looking cartoonish, and it’s sturdy enough to hold up to years of actual kid use. Seal it with a food-safe or child-safe finish so it can handle water rings and sticky fingers without staining.
Vintage Birdcages Repurposed as Hanging Plant and Light Fixtures
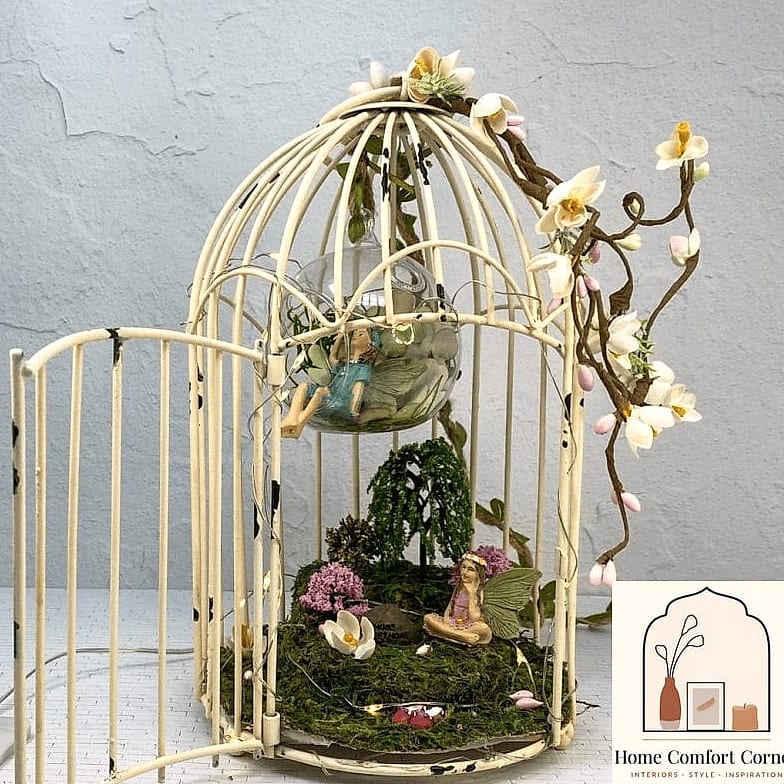
Old wire birdcages, especially ones with a bit of patina, make gorgeous hanging fixtures when you fit them with a small LED candle or trailing faux ivy. Hang two or three at varying heights near a window or reading corner. It adds that slightly whimsical, storybook cottage feeling without relying on anything overtly “fairy” shaped. Thrift stores and estate sales are a great source for these if you don’t want to pay retail prices.
A Wallpaper Mural of an Enchanted Forest Path Instead of Florals
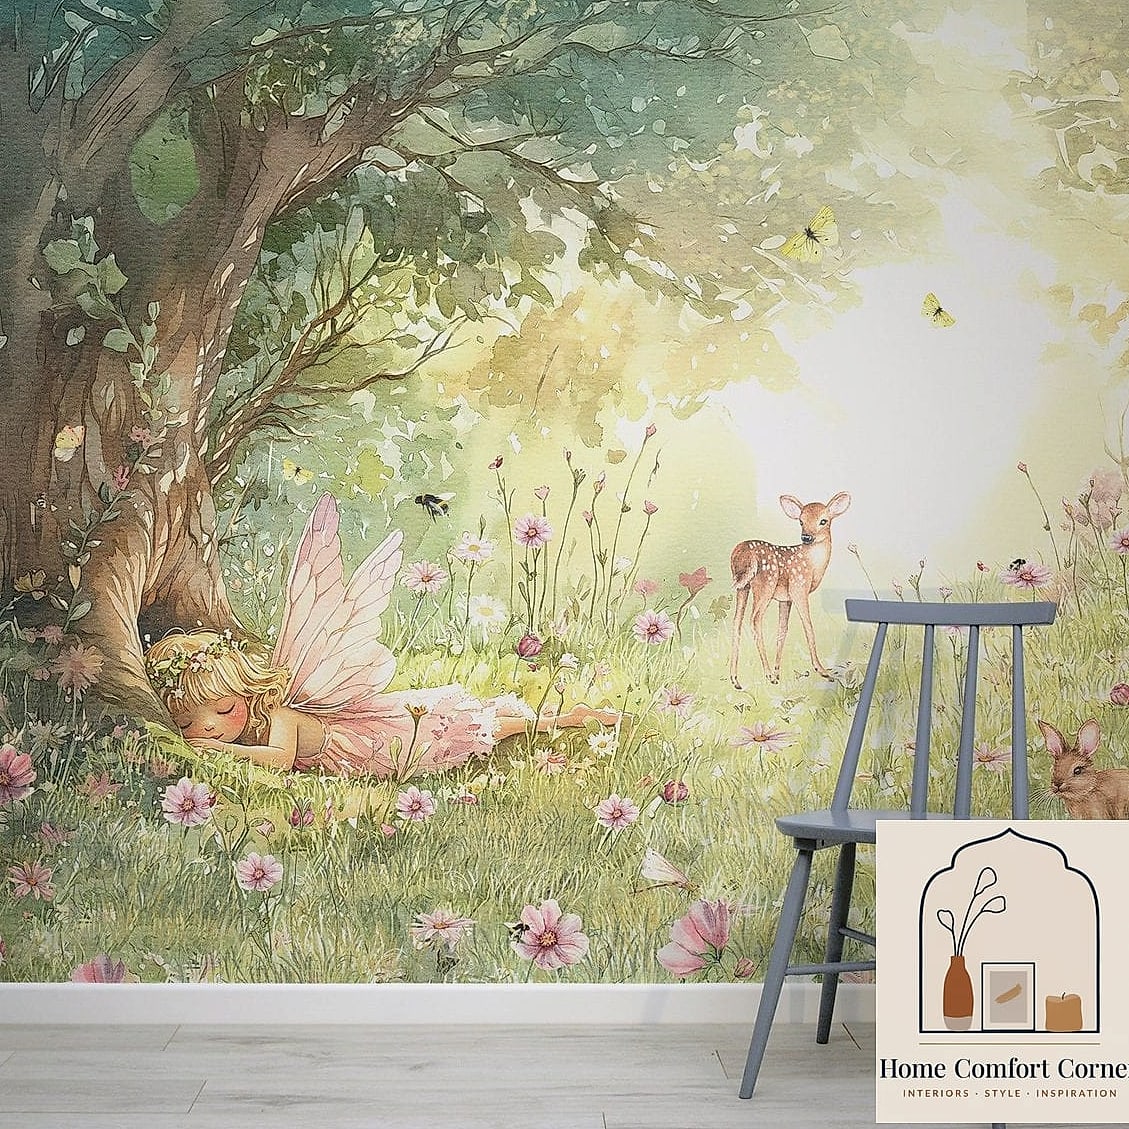
Skip the typical floral wallpaper and go for a large-scale mural that shows a winding forest path disappearing into fog or soft light. Peel-and-stick mural panels have gotten remarkably good in the last few years, and they create an immersive, almost 3D depth effect that flat floral patterns can’t match. It works as a full accent wall or just behind the headboard if you want to keep costs down. Because it’s one big scene rather than a busy repeating pattern, the room actually feels calmer, not more chaotic.
Acorn and Leaf Drawer Pulls on an Otherwise Plain Dresser
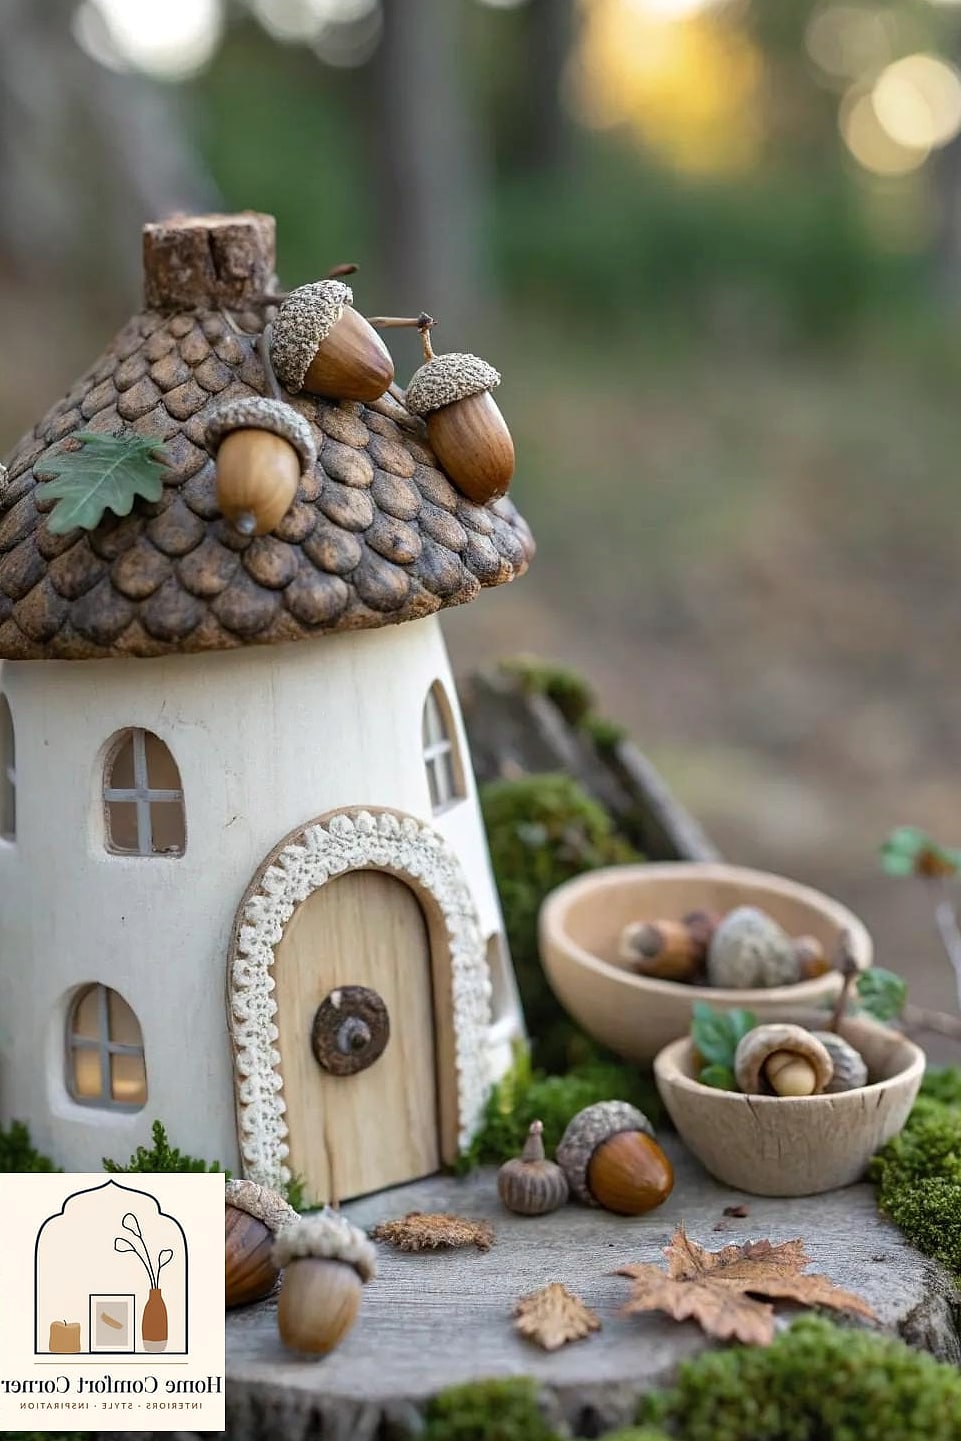
If you don’t want to commit to a full theme overhaul, small hardware swaps go a long way. Replace standard dresser knobs with acorn, leaf, or twig-shaped pulls in brushed brass or aged bronze. It’s a five-minute upgrade per drawer, completely renter-friendly since you can keep the original hardware to reinstall later, and it adds just enough whimsy without overwhelming the space. This is a nice option if the room needs to transition into a more “grown-up” look eventually, since you can always swap the pulls back.
A Woven Willow Branch Headboard
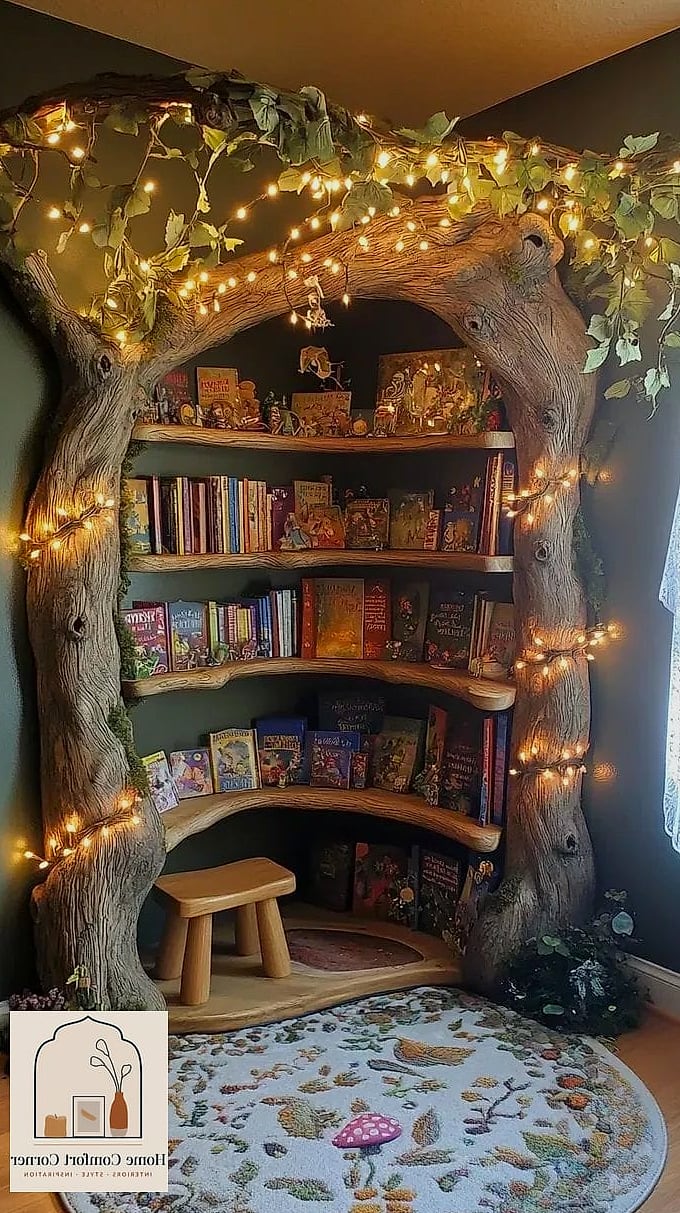
Rather than buying a themed headboard, weave thin willow or grapevine branches into an arched or rounded shape and mount it behind the bed. It has an organic, almost nest-like quality that feels connected to nature rather than costume-y. You can buy pre-made willow arches from garden suppliers if weaving isn’t your thing, or find a local florist who works with natural materials. Pair it with linen bedding in soft sage or oatmeal tones so the headboard stays the visual focus.
A Hidden Fairy Door at the Baseboard With a Tiny Light Behind It
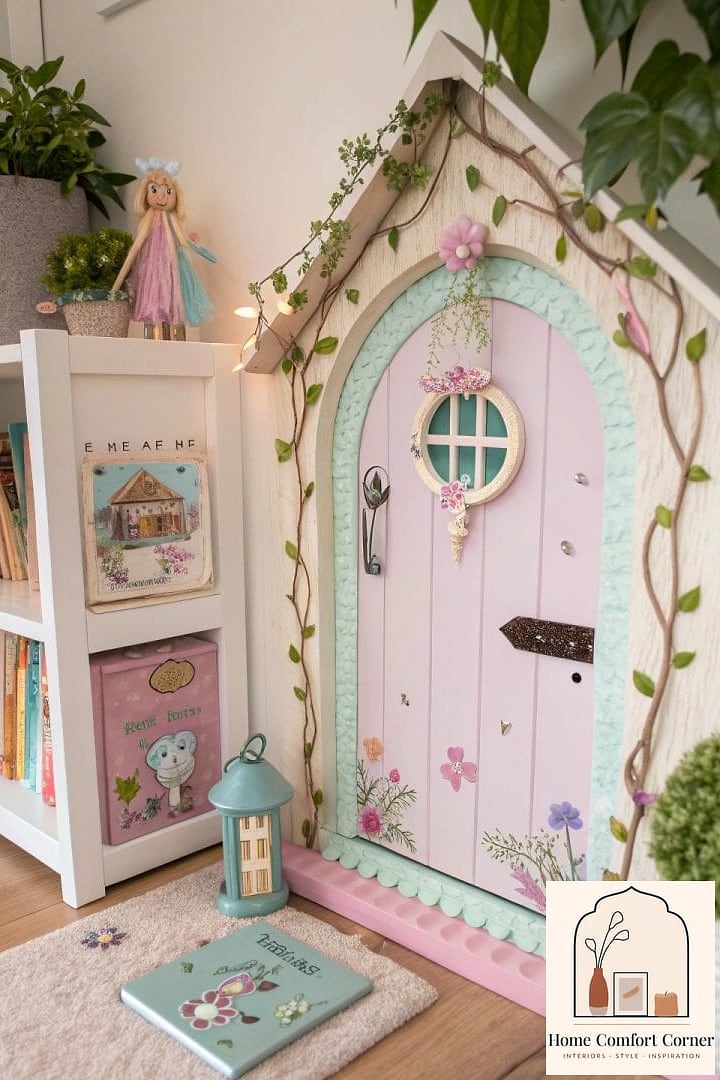
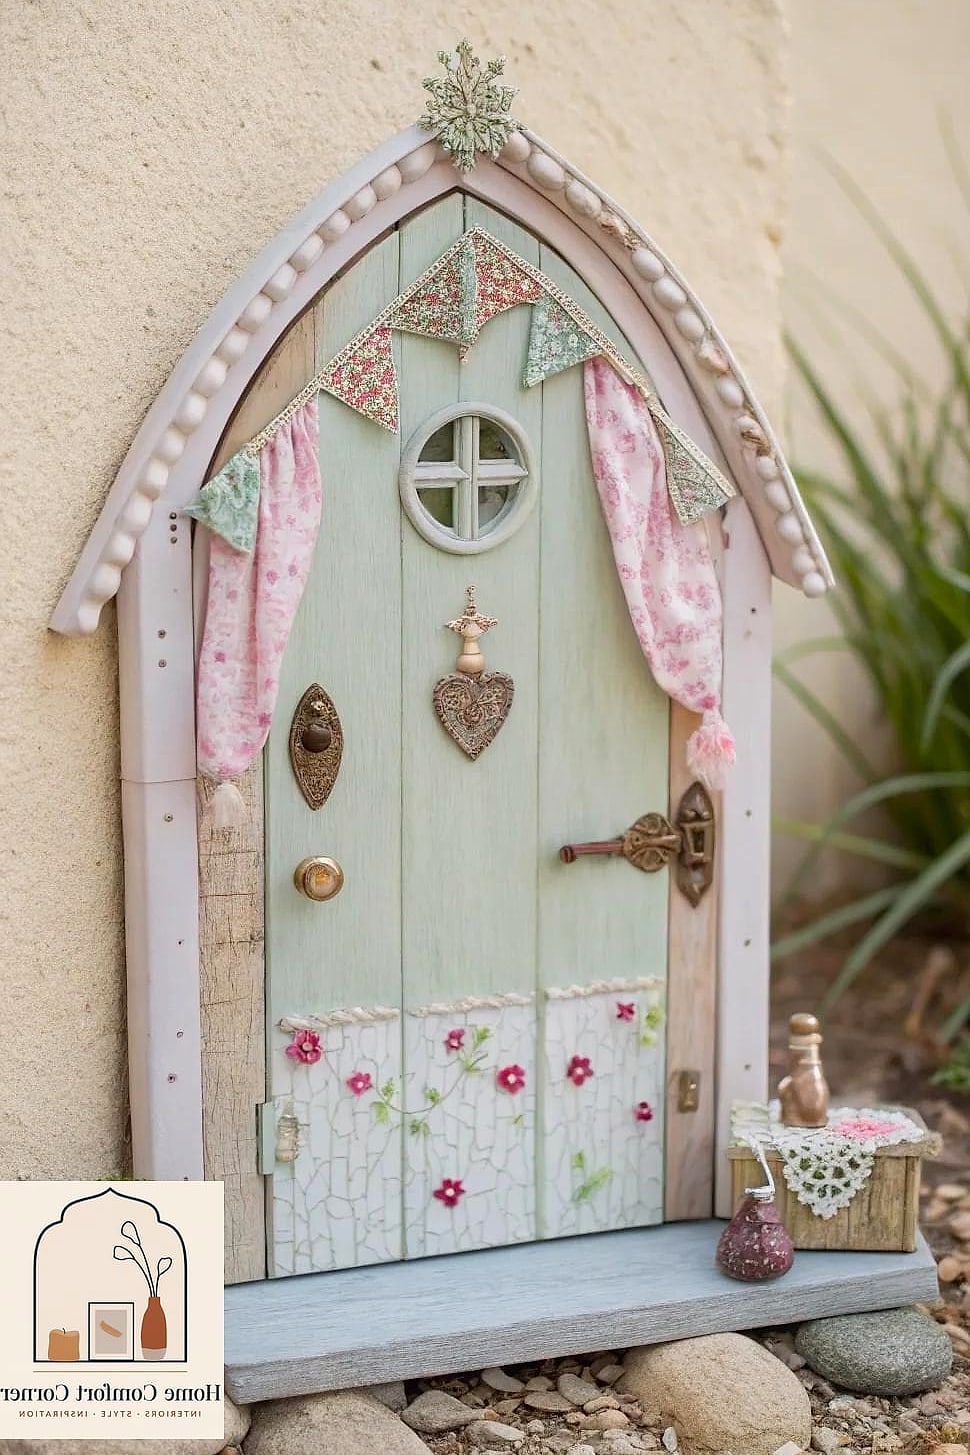
This is a classic fairy room trope, but most versions look flimsy or overly cartoonish. Instead, commission or build a small wooden door with actual hinges and a tiny working latch, set flush into the baseboard, and wire a small flickering LED behind it so light glows from the cracks at night. The realism of an actual functioning door (even a tiny one) makes it feel like a genuine secret rather than a sticker. Kids tend to genuinely believe fairies live behind these, which is honestly the whole point.
Layered Sheer Curtains in Graduated Forest Tones
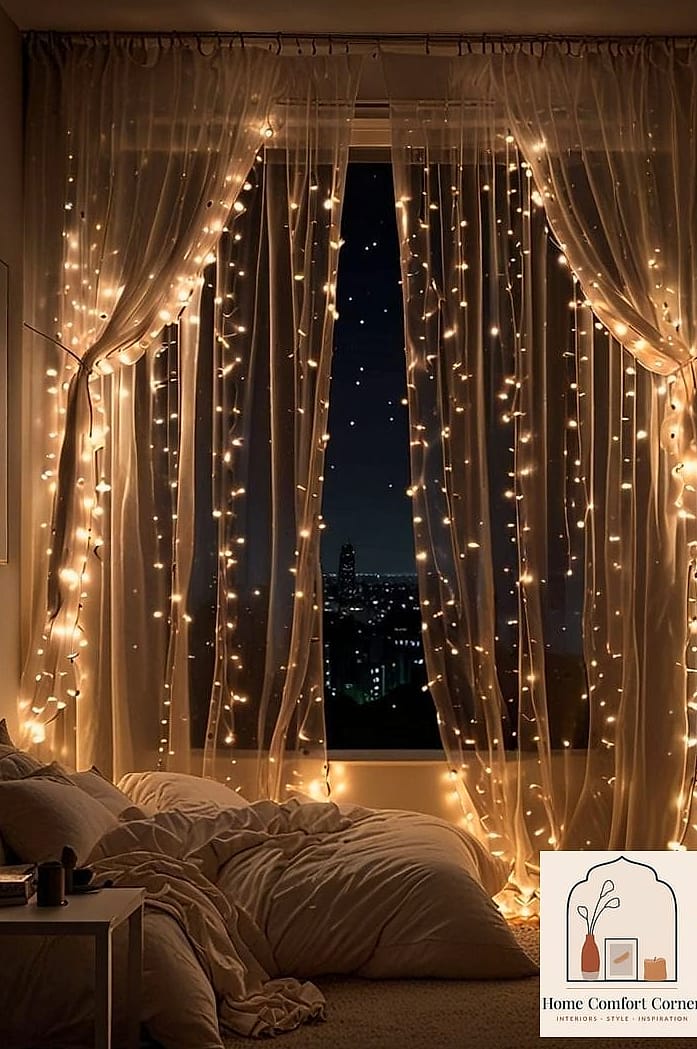
Instead of one curtain color, layer three or four sheer panels in graduated greens, from pale sage near the window to deeper forest green at the outer edges. When light comes through, it creates a soft ombre effect that mimics dappled sunlight through trees. This is a simple swap that doesn’t require any construction, just multiple curtain rods or a single extra-wide rod, and it softens the whole room in a way that a single curtain panel can’t.
A Fairy Ring Rug Layout Using Mismatched Round Rugs
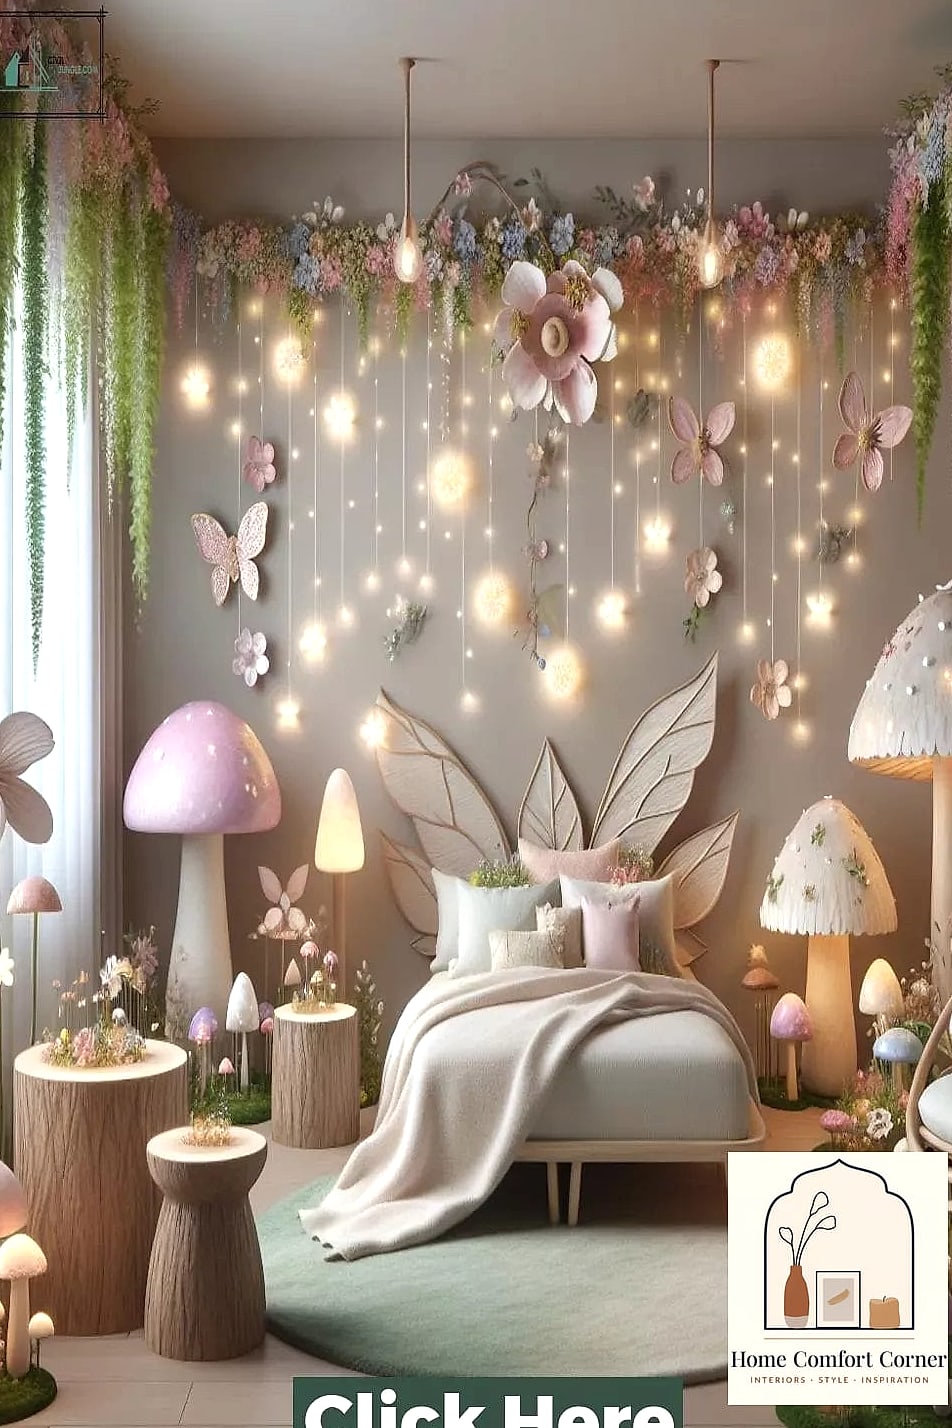
Rather than one large area rug, use a cluster of smaller round rugs in varying earthy tones, arranged in a loose circle on the floor to mimic a natural fairy ring pattern. It’s an easy way to define a play or reading area without committing to a single big rug purchase, and it adds visual texture underfoot. Jute or wool blends hold up well to daily use, and you can swap individual rugs out over time as the room’s palette shifts, which keeps the whole layout feeling flexible rather than locked in.
Putting even three or four of these ideas together can shift a fairy room from something that feels like a themed party into a space that actually feels lived-in and a little magical. The best fairy room decor ideas usually lean on real materials, natural textures, and a bit of restraint rather than piling on every glittery accessory available. Start with one or two statement pieces, like the moss canopy or the hidden door, and build the smaller details in around them.